|
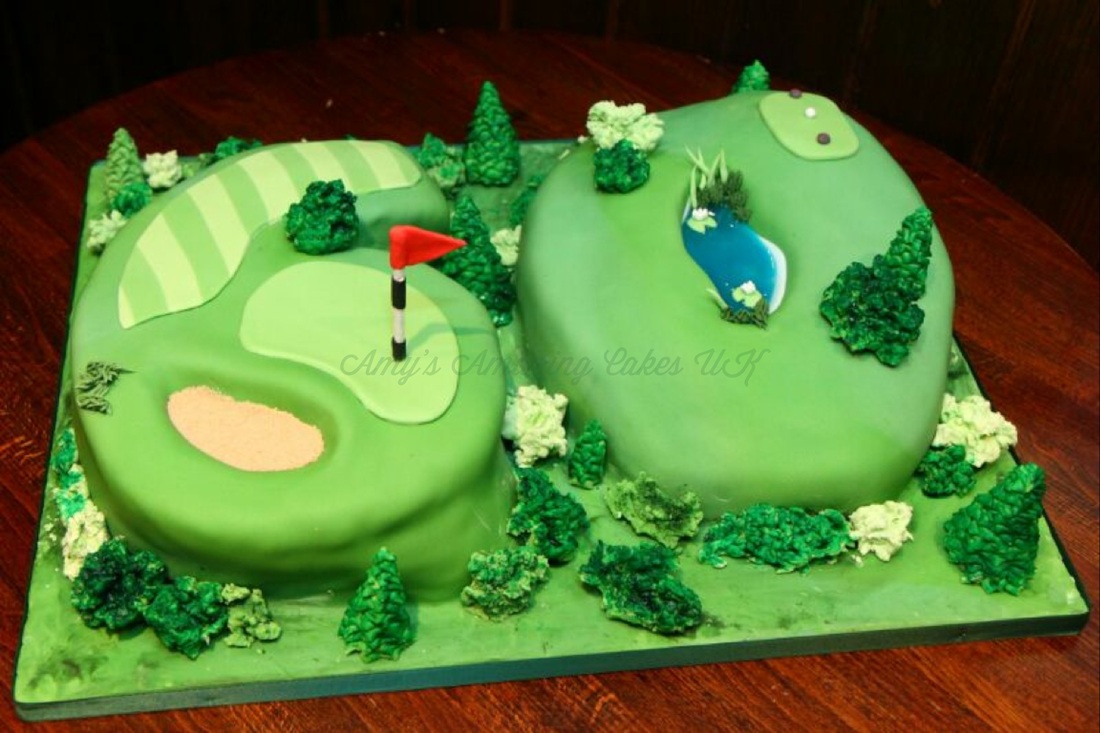
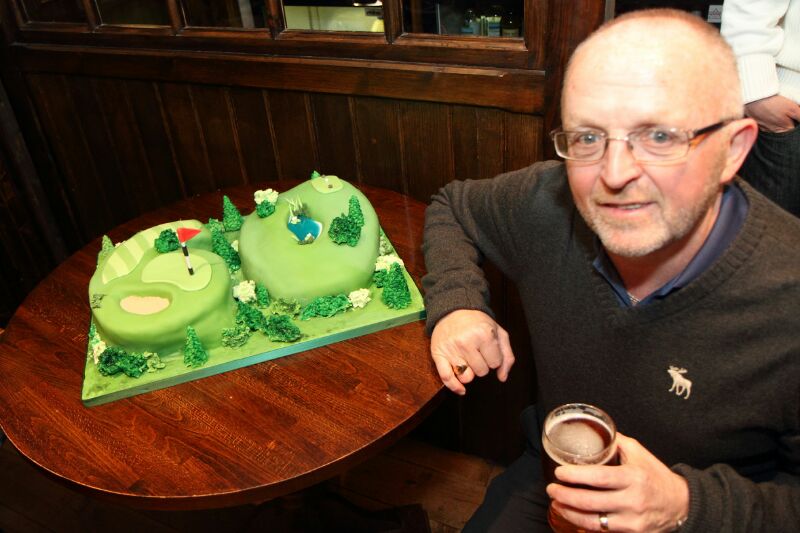
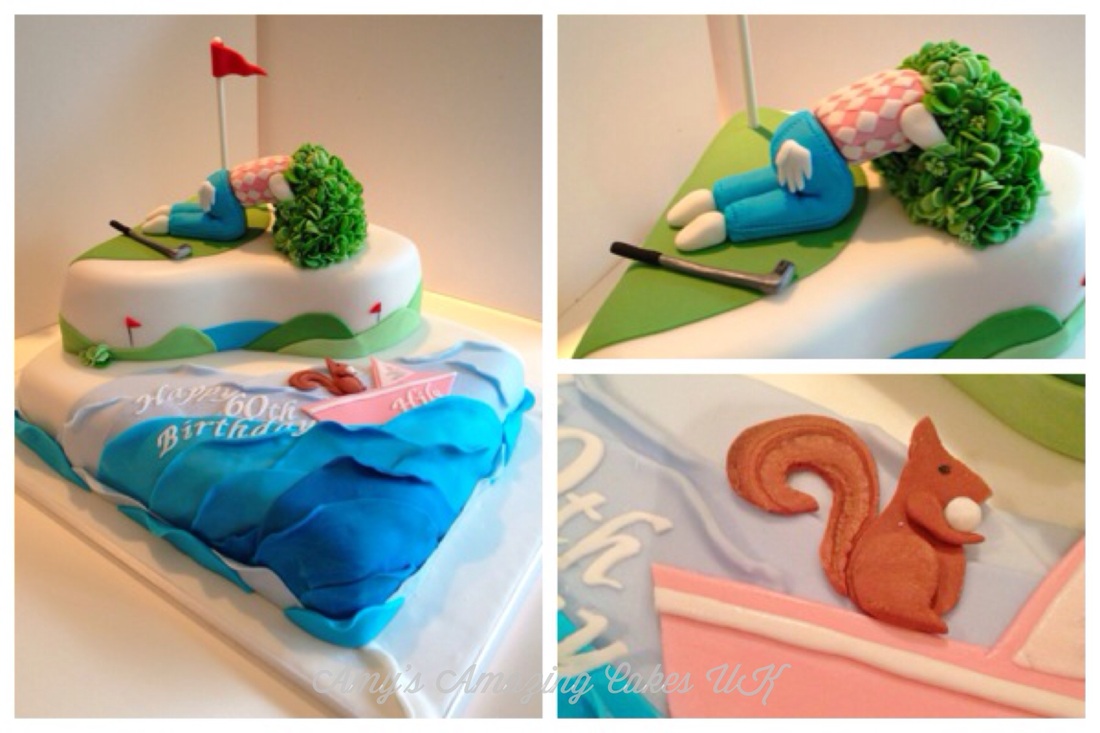
I have recently had the pleasure of making some golf themed cakes for some 60th birthdays. Both were a challenge for completely different reasons! The first was for a man and we decided on a 60 shaped golf course cake. This cake involved a hell of a lot of fondant icing! The big challenge was the lake which i made using homemade piping gel - very pleased with myself! The tress and bushes were all modelling paste and the bunker was soft brown sugar. The second cake was slightly more abstract - the brief: Lady golfer on the top tier with her head in a bush looking for a golf ball meanwhile the bottom tier needs to have a boat on it churning out the birthday message in it's wake. Oh and a squirrel somewhere holding the lost golf ball.... Here's how it turned out: Much better than I expected. And yes, the squirrel just had to be driving the boat...
1 Comment
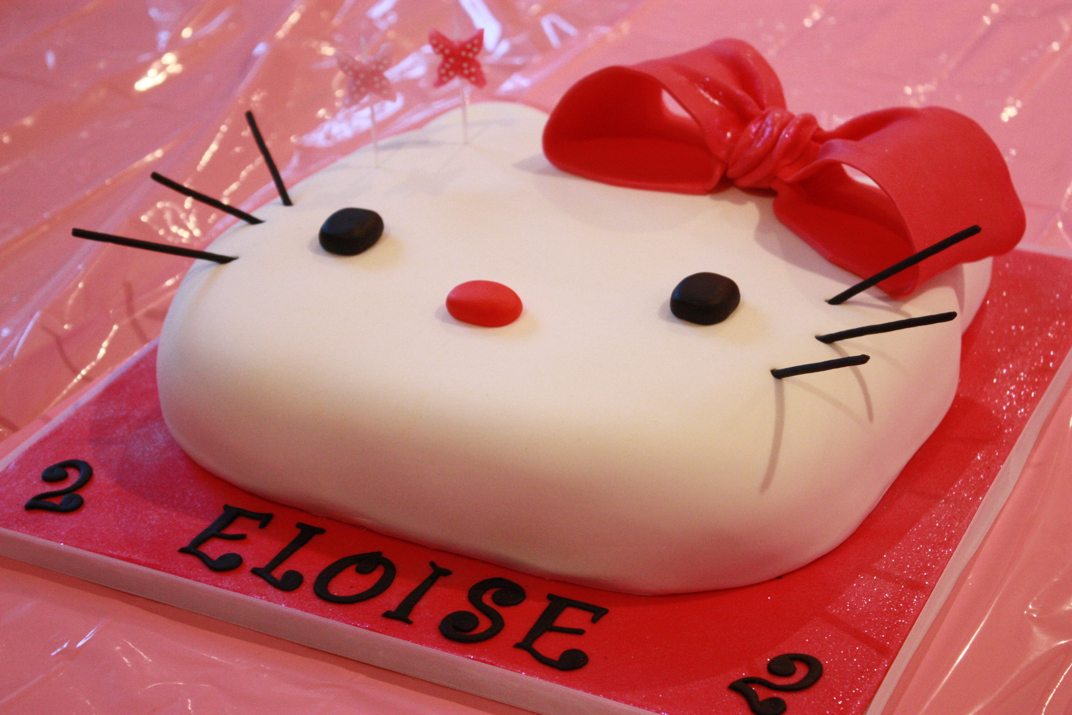
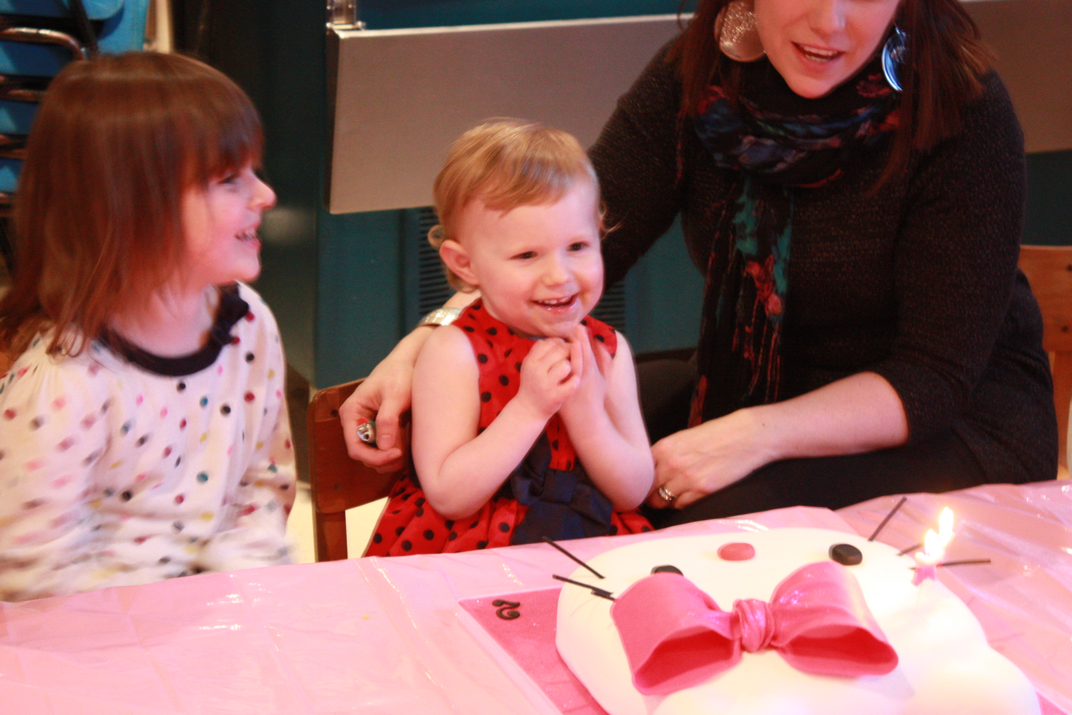
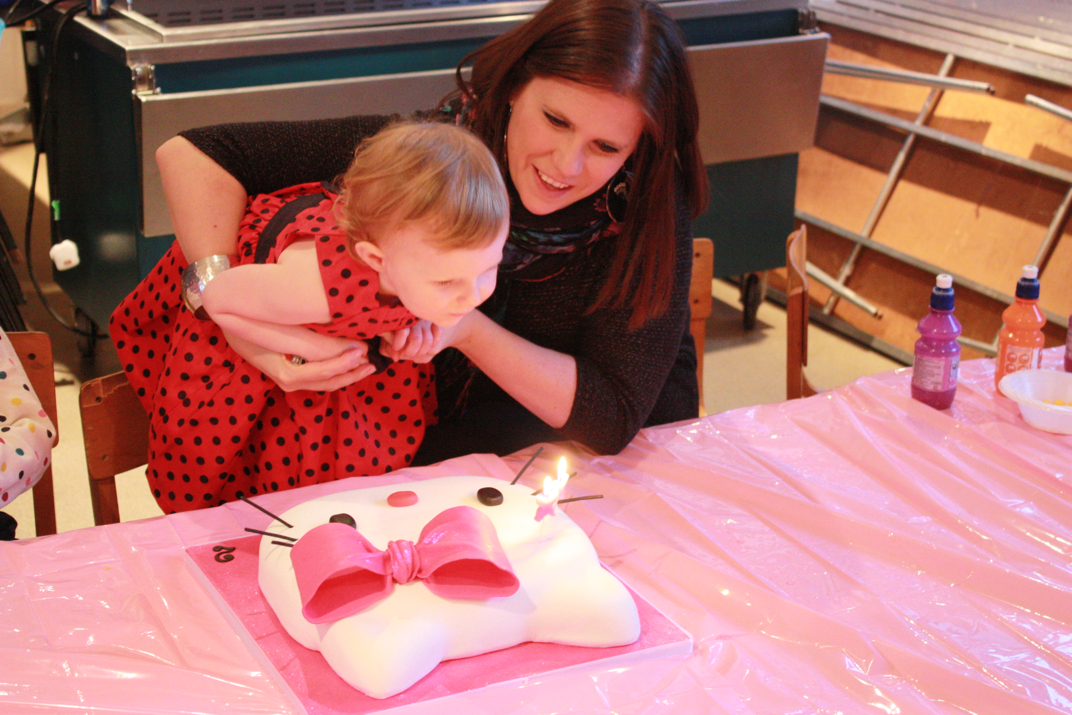
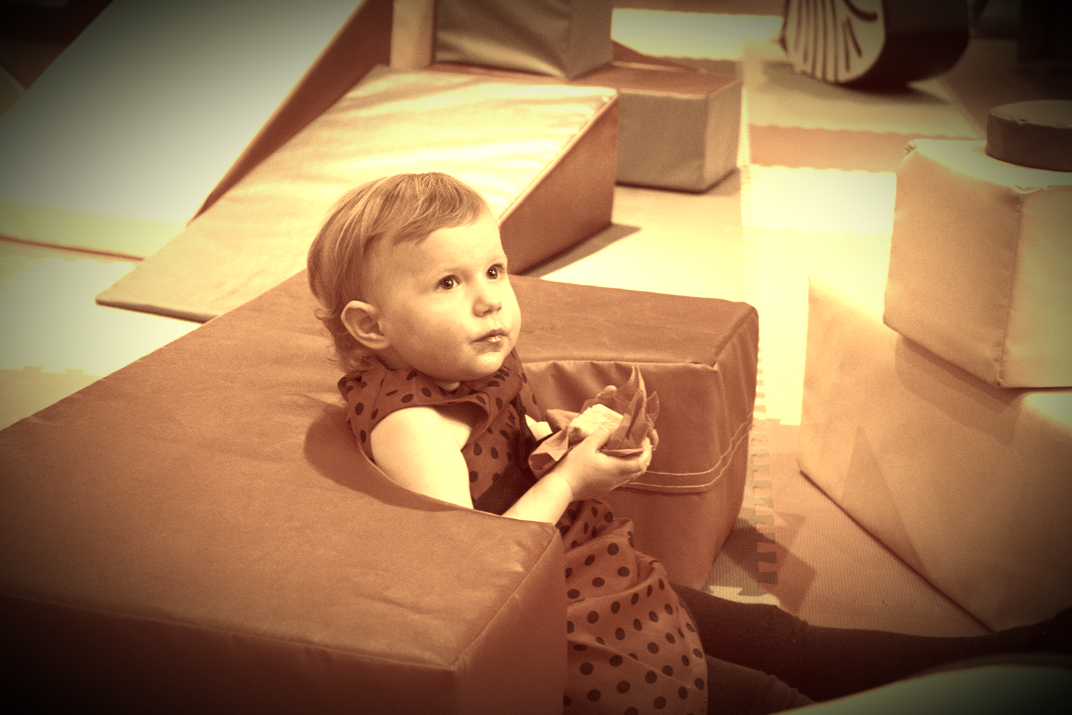
This post is somewhat belated but my little girl Eloise, who makes frequent guest appearances on this blog, turned 2 at the end of February. I know what you are all thinking, i look way too young to have a 2 year old (cough, cough) but it is true. Now Eloise has a lot of favourite things. Her favourite movies are The Lion King, Monsters Inc and Beauty and the Beast. Her favourite cartoons are Scooby Doo, Peppa Pig and Tom & Jerry. Her favourite books are Winnie the Pooh, Chocolate Moose for Greedy Goose and The Bravest Ever Bear. But one if her all time favourite things is Hello Kitty. She has everything Hello Kitty from her little table and chairs to pyjamas. So it had to be Hello Kitty. Plus it is pink which pleases me. You'll see in my gallery i have made a few Hello Kitty cakes but i think the simplist and most effective is the face cake. The cake was lemon which is Eloise's favourite and i sculpted it from a 12'' square. The key is to make sure the edges are slightly rounded and the ears are a little lower than the rest of the cake. I use a slightly thicker icing to make sure i get a smooth finish. This cake needed to be extra special so i made a 3D bow out of modeling paste and left it to dry overnight before adding to the cake. The final touch was black icing whiskers which i made using flower paste and my special icing press. The detail could just as easily have been achieved with thin chocolate sticks (such as the box of matchmakers i had on standy) Eloise was beyond excited about her cake and enjoyed blowing out the butterfly candles twice! Here she is relaxing whilst enjoying her cake on the soft play equipment! Now to start planning next year... Life size Simba maybe?...
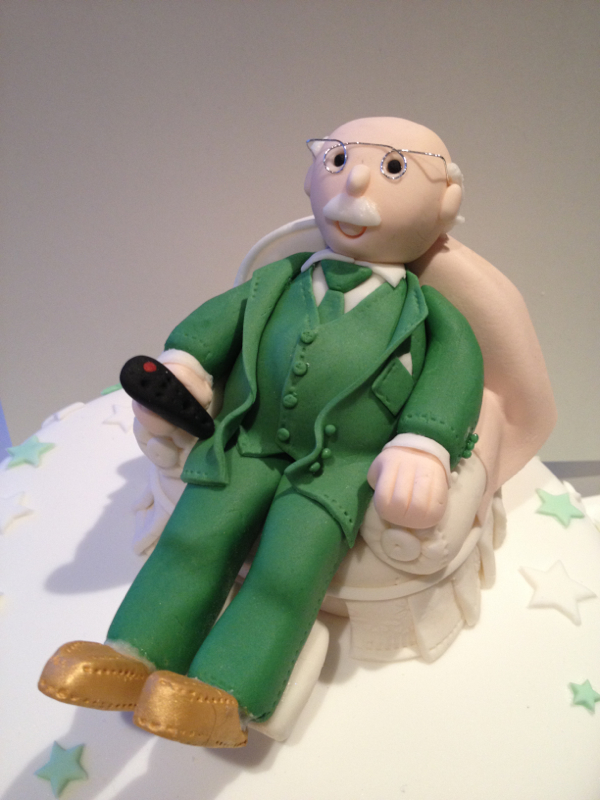
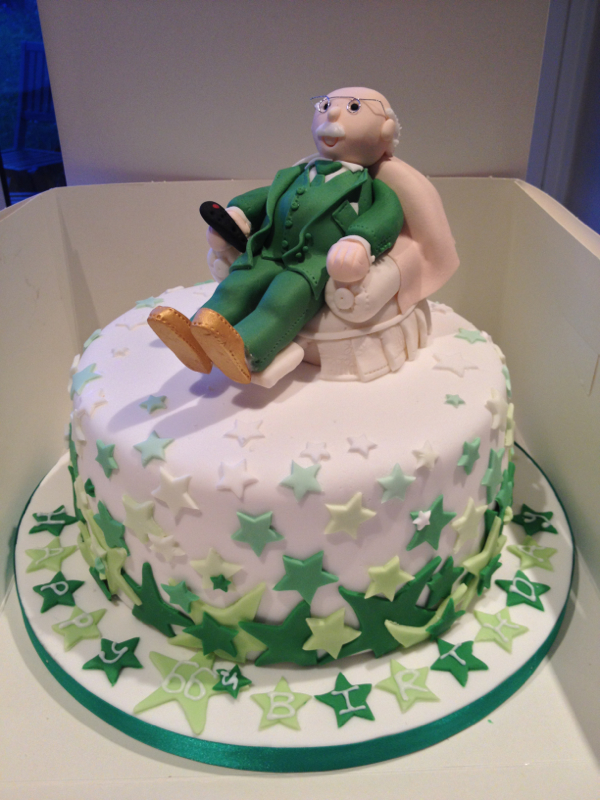
I thought I would share some pics of my latest cake which was for a friend's dad's 66th birthday. The brief was to model her dad, Frank, seated in his recliner chair wearing a suit and gold slippers. Being Irish the colour scheme had to be green! The topper was the biggest challenge as I don't often make character cakes. I mixed fondant with flowerpaste to get a nice, pliable texture to the paste. I built the chair first then added Frank's throws over the back and side of the chair. I then made Franks body seated in the chair and dressed him in a green suit and white shirt. For the head and hands I tinted some white colour paste to give it a flesh tone and placed some wire glasses on his nose and the TV remote in his hand. Royal icing gave Frank a moustache and hair. The slippers were sprayed with edible gold spray paste but attaching them was tricky as the kept falling off so I had to stick some wire into Frank's legs and pin the slippers on! For the main cake I stacked up vanilla sponge with buttercream and jam then covered in white fondant. Green fondant stars decorated the cake with the colours fading as they moved up the cake towards Frank. The iced board featured 'Happy 66th Birthday' written on stars and a green ribbon finished the design. Watch this space for pictures of Frank with Frank!
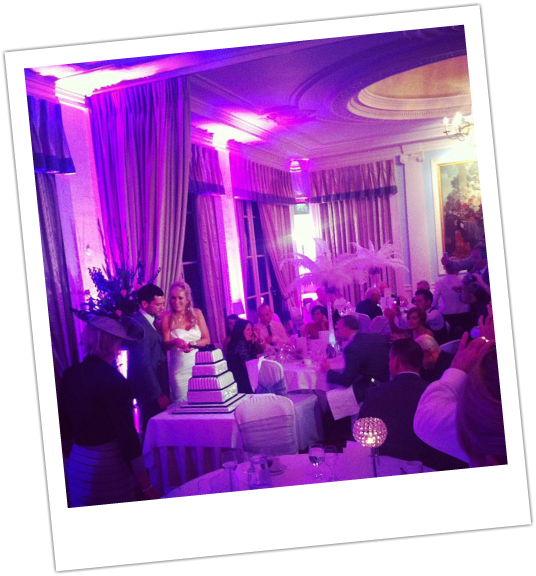
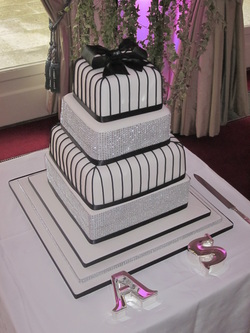 Sally & Anthony's wedding cake was my biggest challenge yet. Lots of research had gone into the design over the past few weeks and I decided the black, white sparkly square cake needed to be a real show stopper to match their classy art deco reception theme. Getting really square corners was important to me as so many square cakes you see on the internet are actually polystyrene dummies which give you perfect corners, so people expect to see this with the real cakes too. The main problem i had was the cakes were rising in the middle but the corners were cooking too quickly in the tin and not rising. I then had to level the cakes to get the perfect square corners which meant wasting loads of cake. I did some internet research and discovered that wrapping the baking tins in damp toweling can help the tin stay cool and allow the corners to rise up. This meant i had less cake wastage and I was able to bake the tiers faster. 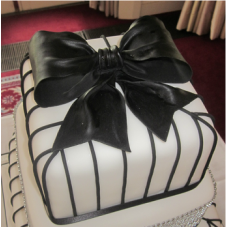 For impact i made each tier 4 inches deep and to give extra height i made a 3 tiered iced base so with the bow topper the cake stood at nearly 20 inches tall. To give the cake sparkle Anthony's Mum Carol had found some cake 'bling' which came on a roll. I wrapped this full height around 2 of the tiers and when the light hit the cake it sparked and shined. The other 2 tiers were decorated with thin icing stripes. Instead of piping black icing onto the white cake (a disaster waiting to happen!) i made the stripes by mixing 1:1 black sugarpaste and black flowerpaste. I pressed the icing through a sugarpaste gun which gave me neat stripes to attach by hand to the cake an inch apart. 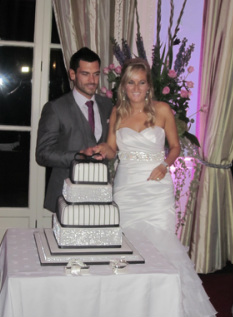 To top the cake off i made a large black bow from black flowerpaste. When it dried the colour was a bit dull so i painted it with black food colouring to deepen the black and give it a slight sheen. Thin black ribbons around the base of each tier and alternating black and bling edging to the cake stand finished the design. I was so pleased with the result. It complemented Sally's beautiful fishtail dress and the ornate surroundings of the RAC club in Epsom Huge congratulations Sally and Anthony, you both looked stunning and so happy. And thank you for trusting me with making your cake! 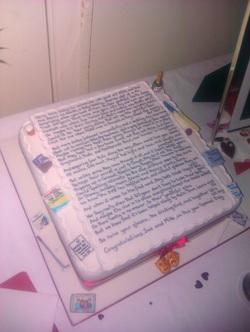 We recently attended a Ruby wedding anniversary surprise party and the cake was very unusual. On a large icing tablet a poem had been wirtten in edible pens charting the life of the couple across their 40 years of marriage. The tablet was then attached to the top of the cake surrounded by little icing objects from their past. Such a personal touch for a special anniversary Wedding cake production planning is in full swing for next week and one of the elements i really want to get perfect is the bow on the top.
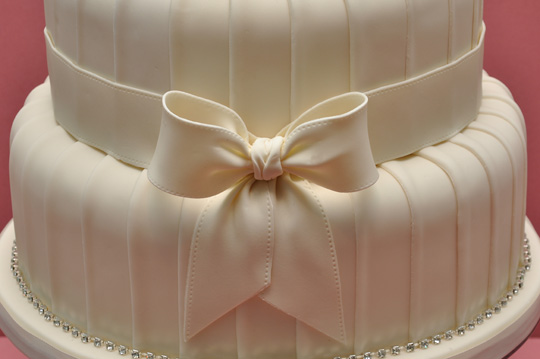
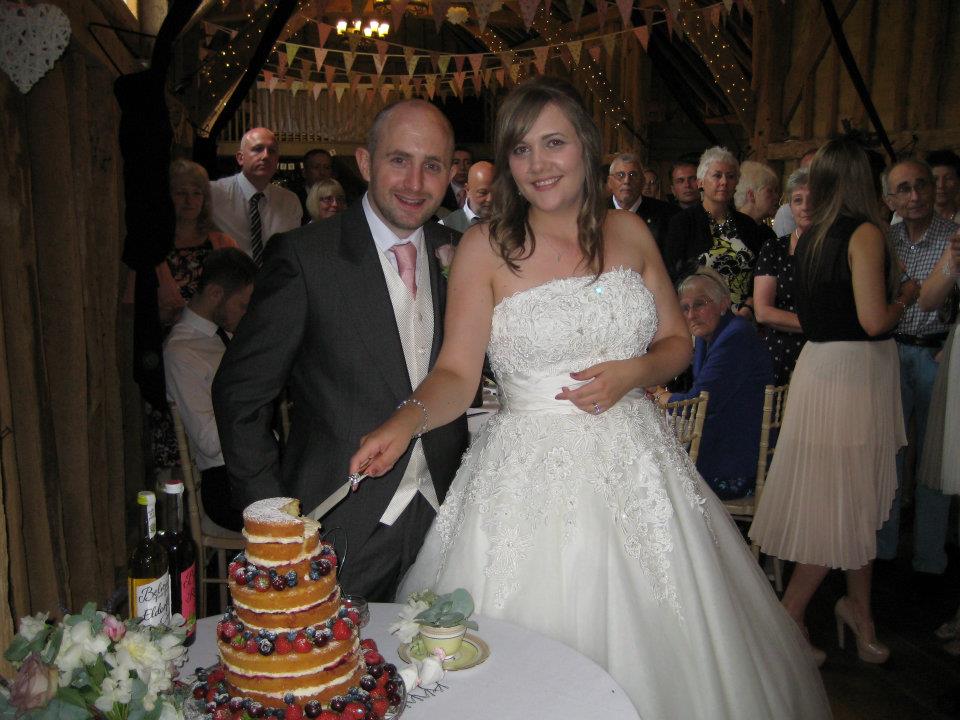
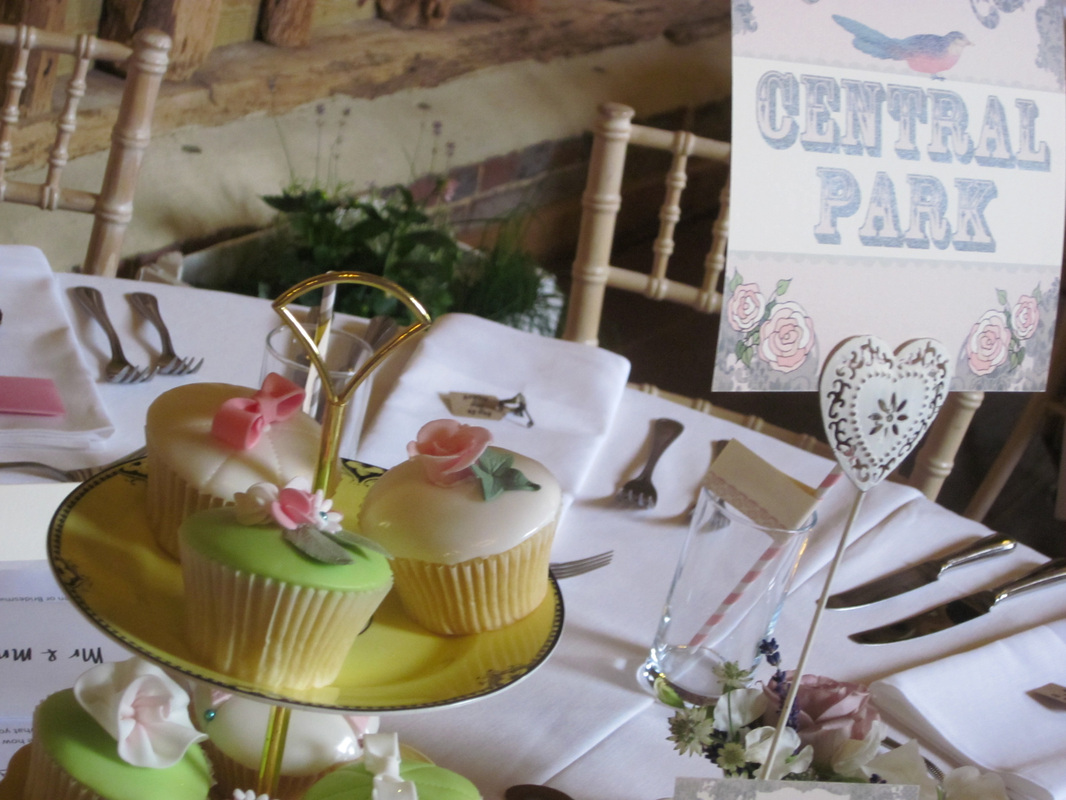
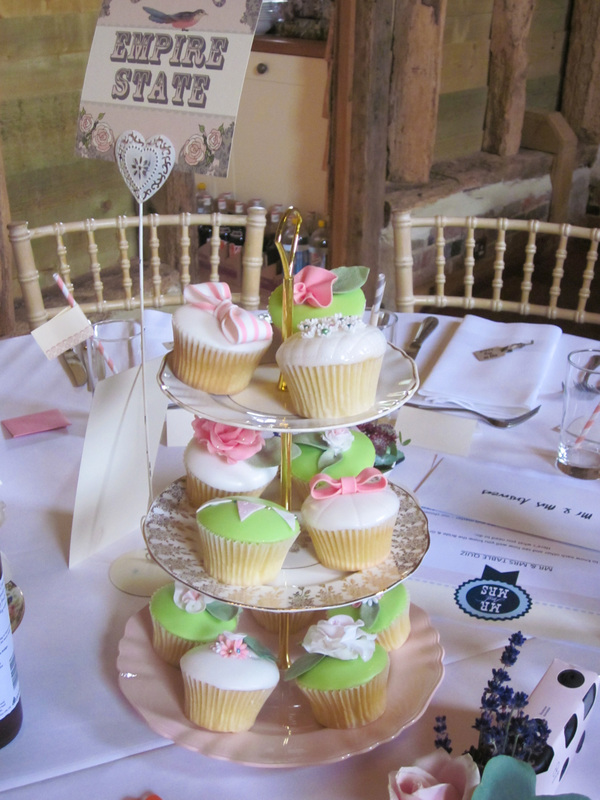
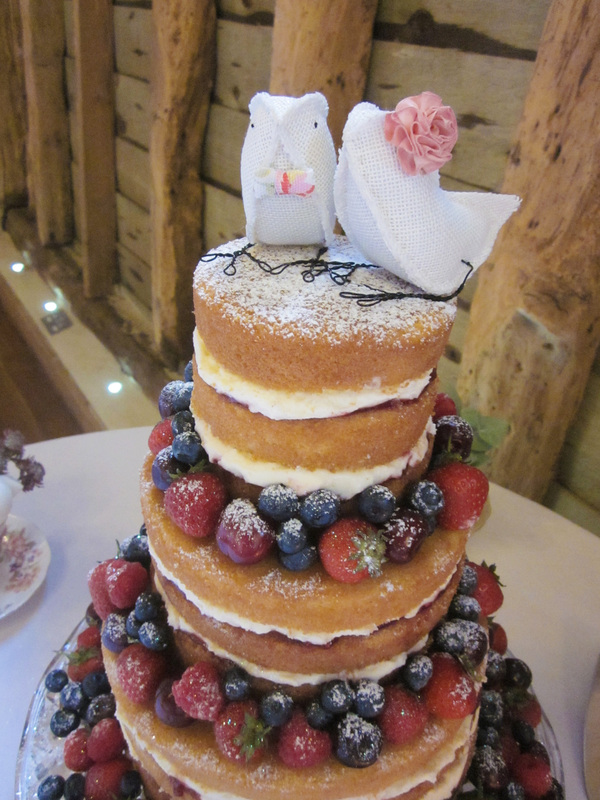
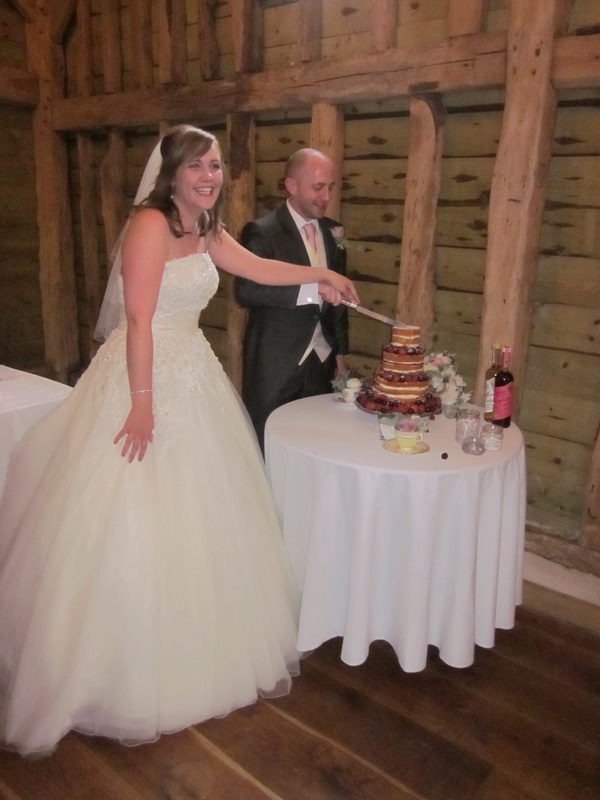
Sally would like the bow to sit flat on top of the cake with some tails. I am conscience that bows can look rubbish if not done well. So i went in hunt of the perfect icing bow and found this amazing bow from finessecakes.com Look how beautiful the bow looks on the cake with the stitch detail and realistic knot. It looks like a real fabric bow which is exactly the quality i want for Sally's cake. Now i have just about recovered from the cake baking marathon of the past few weeks i thought i would de-brief you a little on how the final stages of baking went. 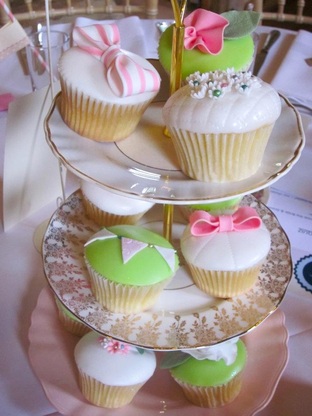 Firstly the dreaded white cupcake cases. Now i thought i had found the perfect white cakes in the Culpitt ones but when it came to the lighter, sponge mix the cases collapsed in on themselved giving me very ugly edges - this would not do for the delicate vintage cupcakes. I tried recasing them but i couldn't get the cases to take the shape of the cake so it looked very baggy and i couldn't get an airtight seal with the icing - so the cake would have gone stale. I then tried Waitrose cases (which you would think should be the best!) but alas a very similar situation to the Culpitt catastrophe. So i came full circle back to Dr Oaker which you may recall were the perfect size for my tins and therefore gave me a lovely frilled edge but went very brown during baking. I did a little research online and a suggestion was to bake in 2 cases then remove the outside case. I tried this and the inside case was definietly a lot less darker. To further improve this i added a third case during the bake which vastly improved the colour. It did not stay completely white but it gave me a nice, clean pale colour which did not look discoloured. I was happy! Next the Victoria sponge stack. Leanne changed her mind on the fruit at the last minute which i think was very wise. It did not change the baking but it gave a strong colour to contrast against the sponge and filling. Despite doweling each cake on an individual board i was very nervous about the stability of the cake. The sponges had to be extremely fresh which meant they were not dense. Also i needed a decent amount of buttercream between each layer to achieve the right look. This combination of airy, light cake and lashings of buttercream and jam does not bode well for tiered structures where the bottom is under some pressure. It did seem to lean a little (i don't think the slightly sloping barn floor helped!) but some quick readjustment meant it stayed upright until it was cut at 11.30pm! The fruit was a nightmare. Everytime i put a piece on another one rolled off. In hindsight i should have taken some buttercream along to the venue to use as glue around each tier (although how i would have stopped this from spoiling the look of the cake i don't know. We live and learn!!! Holographic glitter mixed into the icing sugar made the cake sparkle and shine. (I was sparkling and shining too as i was covered in glitter during the wedding!) Overall a sucess but a little stressfull having to bake so close to the wire and assemble on site. Yesterday was the big day - Dan and Leanne became Mr and Mrs Moynihan! It was also the culmination of a month of sugarcraft and baking.
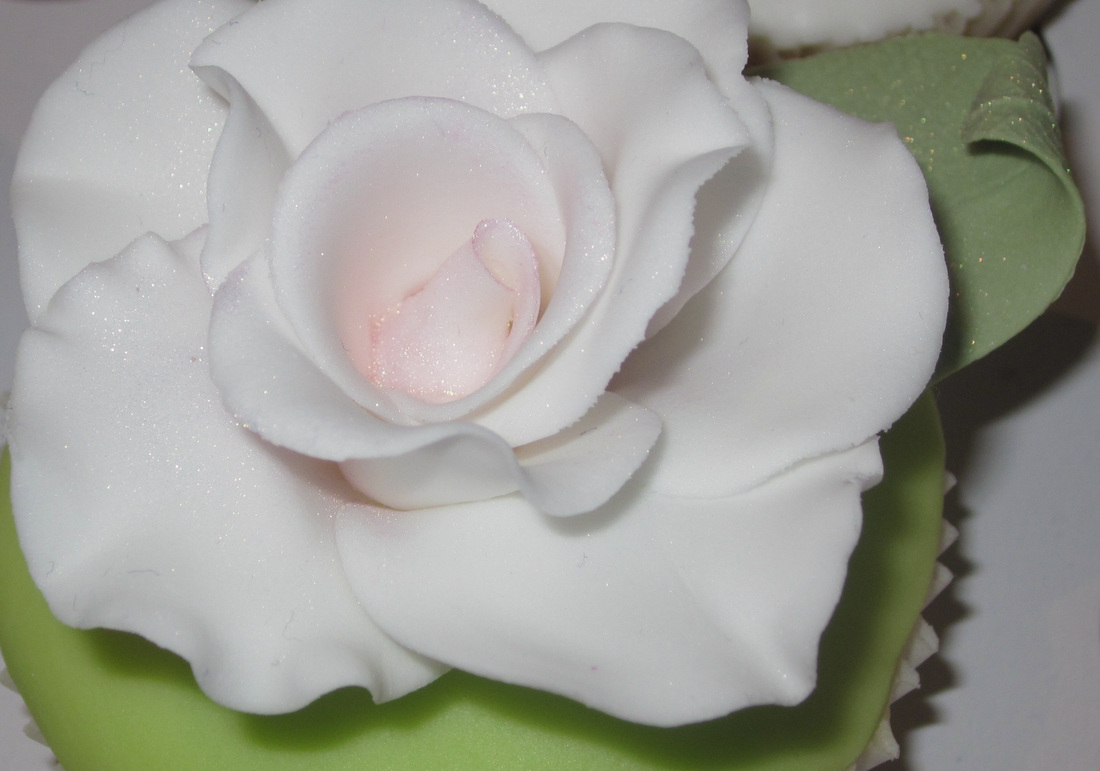
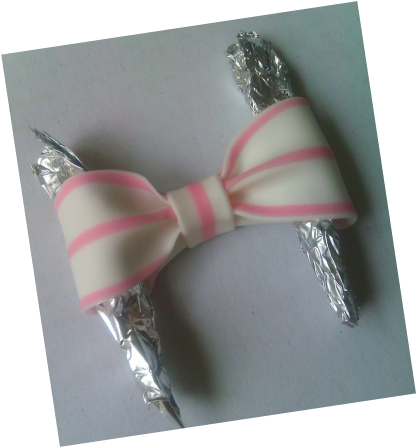
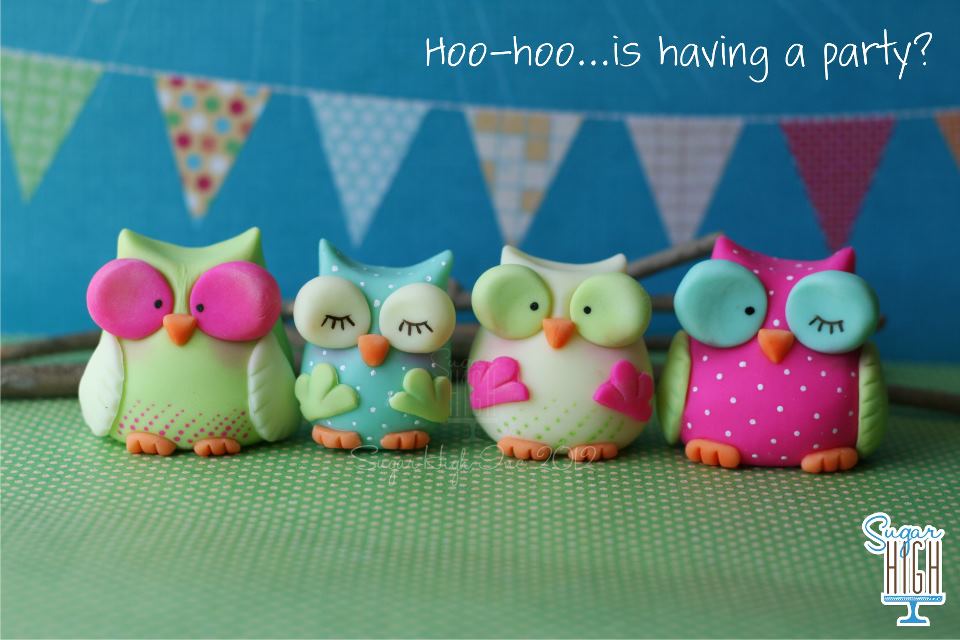
The day went off so well despite the weather and the happy couple looked amazing. The cupcakes and Victoria sponge stack were a hit and there was not a trace of cake left at the end of the night. I even witnessed a scissor, paper, stones fight over the last cupcake... Big thanks to Leanne and Dan for my lovely gift. I hope you have a lifetime of happiness together. I will blog more this week about some of the challenges and tricks which came up in the last stages of the wedding but for now i am completely caked out so here's some pictures... PS. hello to Jon who i discovered is secretly my biggest blog fan! 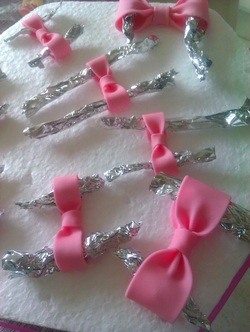 Lots of bows are needed for the upcoming wedding cupcakes. I have been working on them in the past few days and am really pleased with the results. The larger bows will have tails added whilst the little ones will sit on a embossed topper. The foil is providing support as they dry to keep the 3D shape. My favourite ones are the candy stripe bows which involve rolling stripes of pink into the white sugarpaste before consutructing the bow. They take longer to make but they have great impact. Next i will be moving onto he leaves for he rose and cluster cupcakes. I had to share these beautiful owl sugarcraft figures! Completely stunning by Sugar High in Virginia
|
About AmyMum. Wife. Artist. Baker. Archives
November 2013
Categories
All
|
 RSS Feed


