|
Our friends Ben and Sarah visited today with their little girl Tilly. I wanted to make an easy, light dessert as it was so beautifully warm today (shock horror! A UK bank holiday without rain!) I decided on Eton Mess. The only problem was I hate shop bought meringue, I find it too crunchy and overly sweet, so it was time to bite the bullet and give homemade meringue a try. I've seen it made a million times on The Great British Bake Off so it couldn't be that hard... surely... 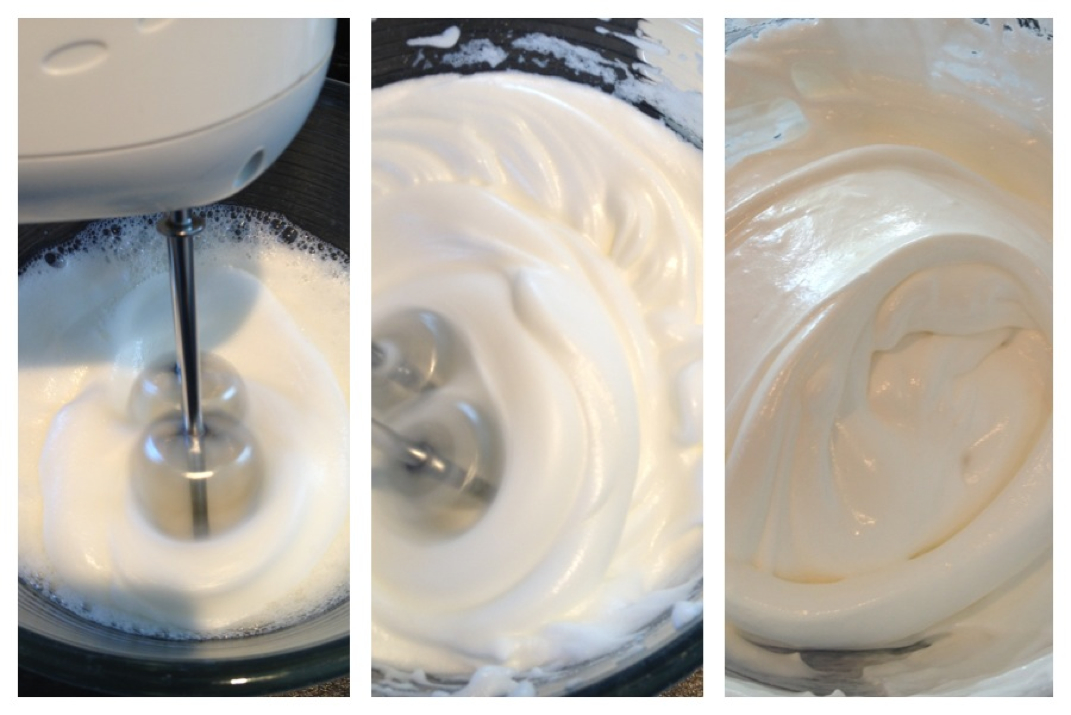 I found the most simple recipe I could find which involved whisking 4 egg whites until it forms stiff peaks, adding 115g caster sugar a teaspoon at a time, then slowly folding in 115g icing sugar. I have learnt through watching too many TV cookery programmes that the way to test if your meringue is stiff enough is to hold the bowl upside down over your head. So Eloise and I gave it a go. Success! 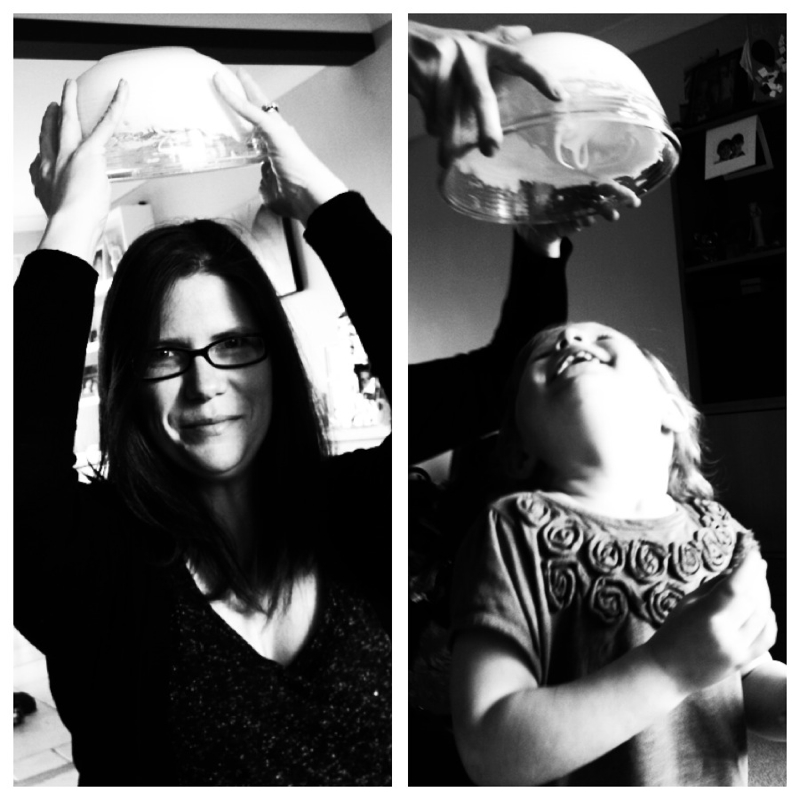 I spread the mixture onto a lined baking tray and popped it into a 100•c oven. It is supposed to be done when it looks a pale coffee colour. After 2 hours mine still looked pretty pale but I didn't want to risk meringue disaster my first time out so I turned off the oven and left it inside to cool. 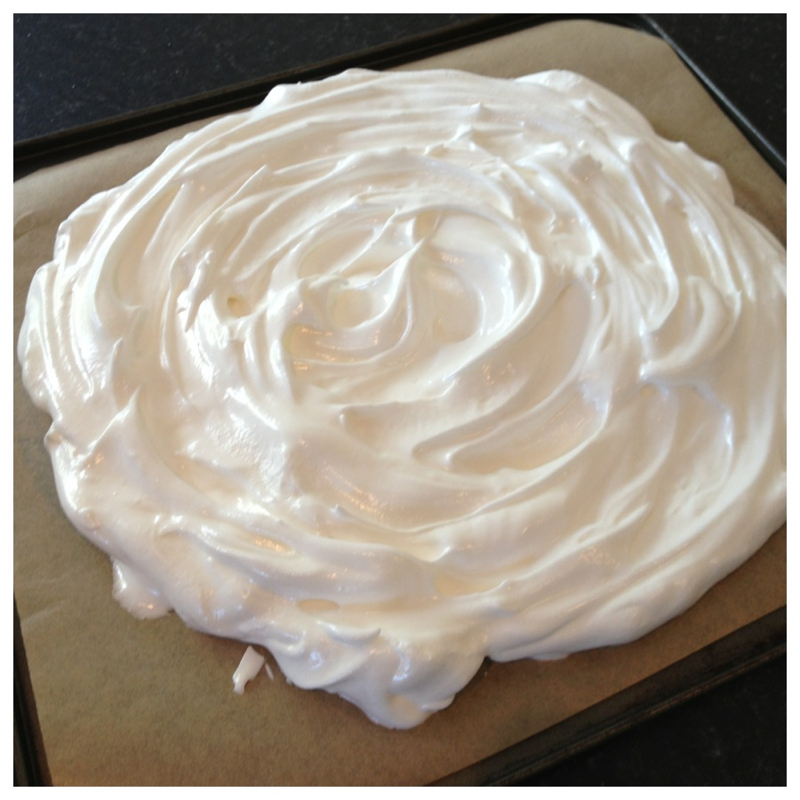 It was perfect, crisp on the outside and chewy in the middle. I smashed it up and mixed with berries and whipped cream and served in sundae glasses with a fruit garnish.
In the pudding frenzy I forgot to photograph this momentus moment so you'll have to take my word for it... If challenged I can provide witnesses.
0 Comments
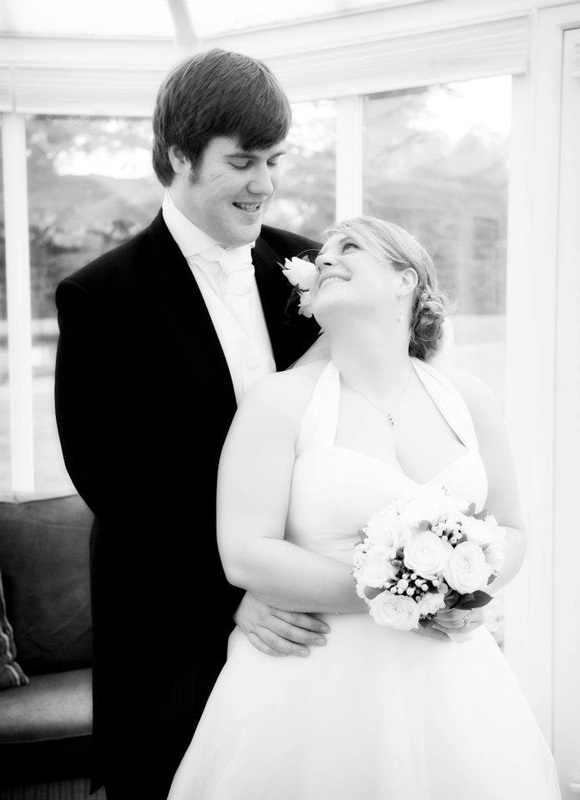
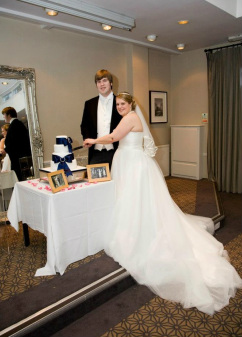
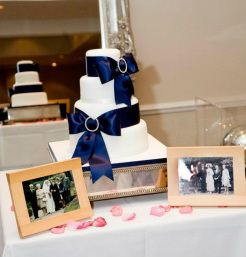 Blue bow wedding cake Blue bow wedding cake One of my oldest friends Lizzy got married to her fiancee Jeff back in March at the Warbrook House Hotel. I had the honour of making her cake :-) The whole wedding was very clean and unfussy featuring a lovely deep blue theme with accents of pink. The cake was a smooth white four tier round number with dramatic ribbon bows wrapped around two tiers. A diamante brooch in the centre of each bow added some bling to the design and picked up the detail on Lizzy's dress. I have to let you into a little secret about the fabric bows; they were a bloody nightmare! Trying to tie a conventional bow around a cake is not a easy as it sounds. The bow looks crap and don't sit properly against the cake. So after a lot of stomping around the house i ended up making the bows the same way i make icing bows. I added the sash around the cake first. I then cut 2 tails and stitched them onto the sash. For the main bow i shape i stitched closed a loop of fabric and then wrapped a small piece of fabric wrapped around the middle of the loop pulling it into a knotted shape. I then stitched this bow onto the sash. I am aware 98% of you are screaming at your computer/phone screen 'Just tie the ribbon around the cake!!!' and you are probably right. The 2% who aren't understand me perfectly and can come round for tea.
The cake was 4 different flavours and was displayed on a iced board and silver cake stand. Lizzy and Jeff decorated the cake table with pictures of their parent's weddings which was a beautiful and personal touch. I received a lovely note from Sheila, Mother of the Bride, and it appears the cake was so popular there was nearly a fight over the leftovers. Now that has to be the perfect compliment...
Today it is raining. Chris is out for the day so Eloise and I have been entertaining ourselves with our latest eBay purchase (The Little Mermaid DVD), napping (Eloise), laundry (me) and baking. Well not quite baking. More melting, mixing and refrigerating. I don't remember making these as a child but I remember eating them! Baking with Eloise is still a challenge but she is getting better and enjoys filling up the cases now. The only problem is i have to make double as she eats so much along the way! Luckily her wares only get eaten by the family... 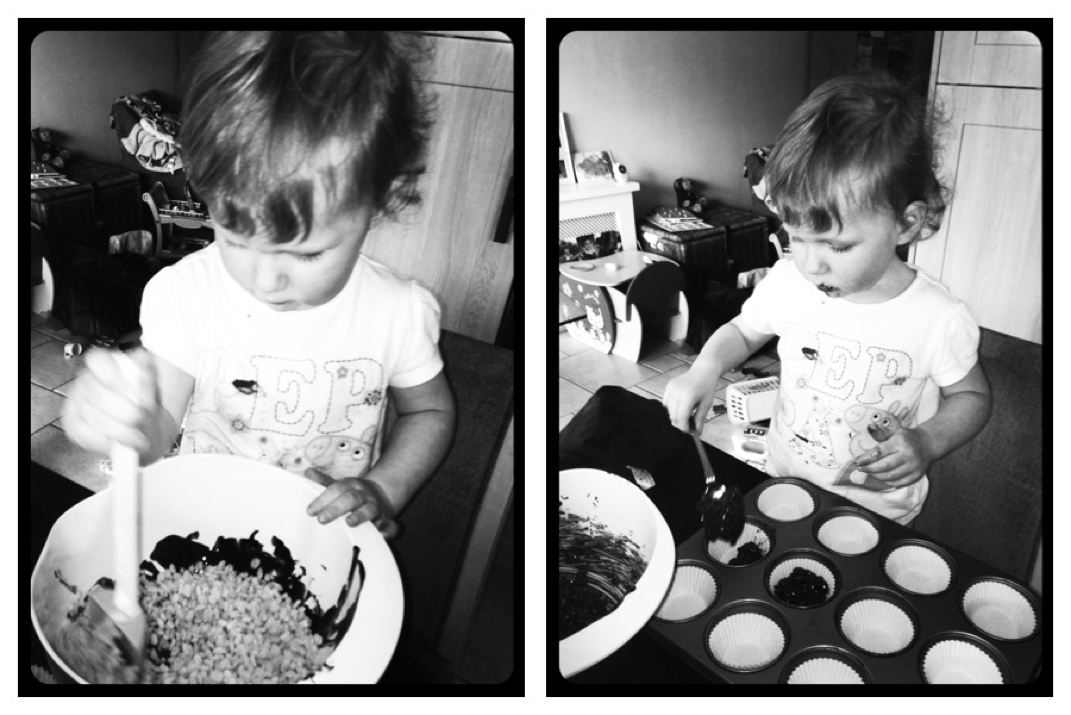 Action shots I really like fridge cakes. One of my favourite is a mixture of crushed digestive biscuits, melted butter, golden syrup, melted chocolate and a good slug of Cointreau. Mix the lot together, spread in a baking tray lined with cling film and cover well. Freeze (yes, freeze) chop up into wedges and enjoy. 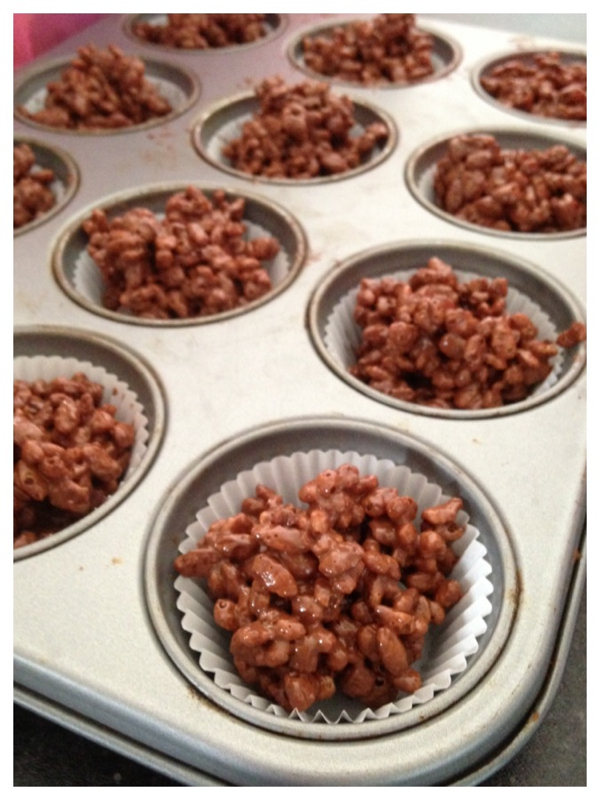 Top tips for fridge cakes:
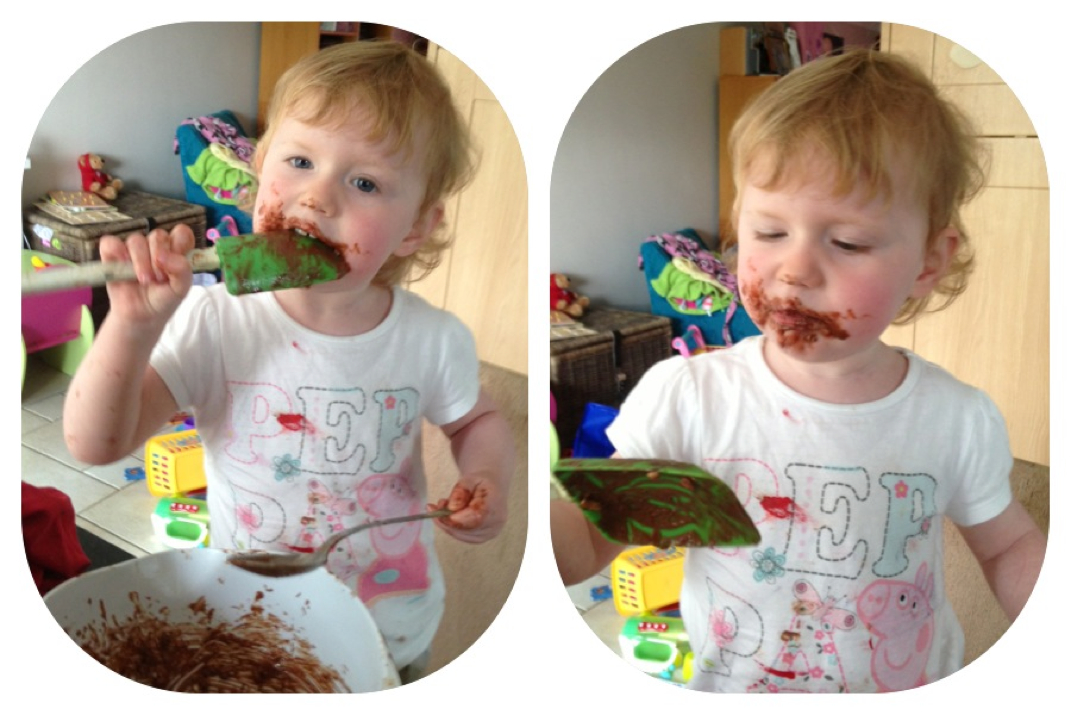 Eloise, you've got a little bit of chocolate on your face... And remember to leave enough mixture for spoon licking at the end!
Can't wait to enjoy these together tomorrow. Perhaps we may even get enough sun to sit in the garden (not holding my breath!) This post is somewhat belated but my little girl Eloise, who makes frequent guest appearances on this blog, turned 2 at the end of February. I know what you are all thinking, i look way too young to have a 2 year old (cough, cough) but it is true. Now Eloise has a lot of favourite things. Her favourite movies are The Lion King, Monsters Inc and Beauty and the Beast. Her favourite cartoons are Scooby Doo, Peppa Pig and Tom & Jerry. Her favourite books are Winnie the Pooh, Chocolate Moose for Greedy Goose and The Bravest Ever Bear. But one if her all time favourite things is Hello Kitty. She has everything Hello Kitty from her little table and chairs to pyjamas. So it had to be Hello Kitty. Plus it is pink which pleases me. 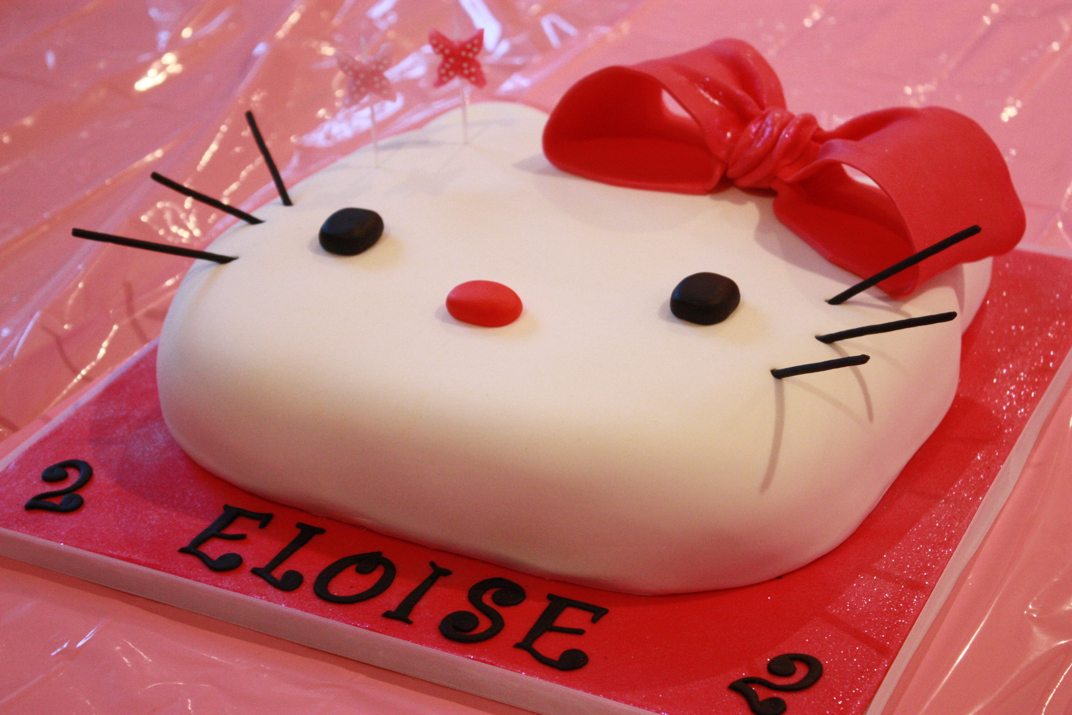 Hello Kitty birthday cake You'll see in my gallery i have made a few Hello Kitty cakes but i think the simplist and most effective is the face cake. The cake was lemon which is Eloise's favourite and i sculpted it from a 12'' square. The key is to make sure the edges are slightly rounded and the ears are a little lower than the rest of the cake. I use a slightly thicker icing to make sure i get a smooth finish. This cake needed to be extra special so i made a 3D bow out of modeling paste and left it to dry overnight before adding to the cake. The final touch was black icing whiskers which i made using flower paste and my special icing press. The detail could just as easily have been achieved with thin chocolate sticks (such as the box of matchmakers i had on standy) 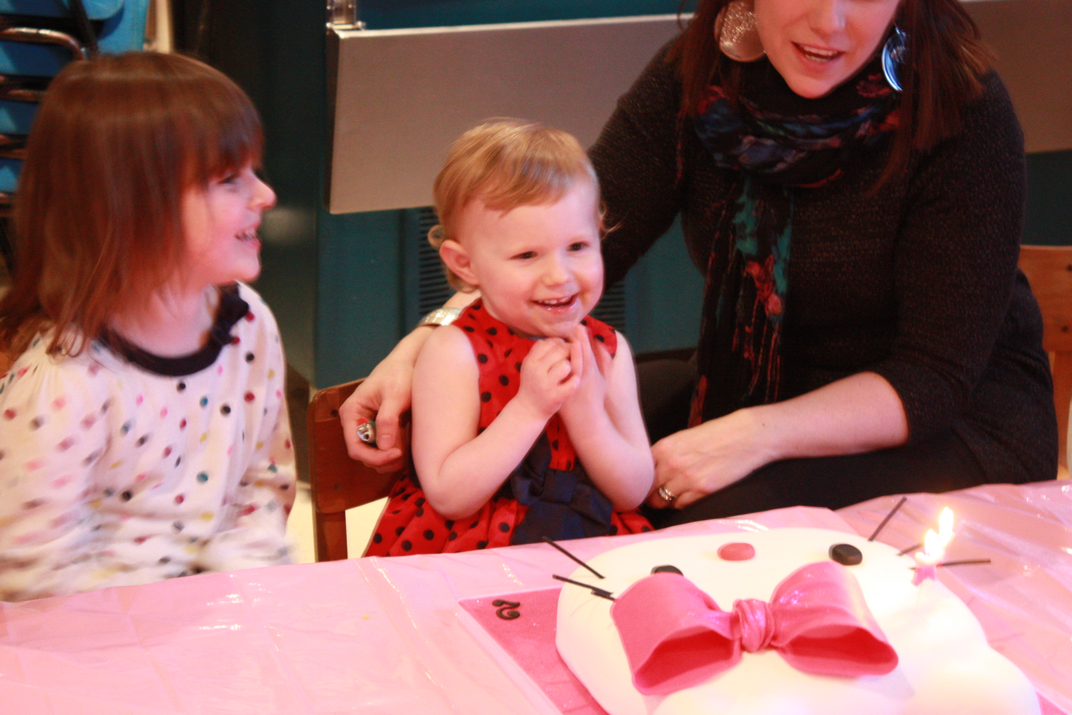 Look at that face! Eloise was beyond excited about her cake and enjoyed blowing out the butterfly candles twice! 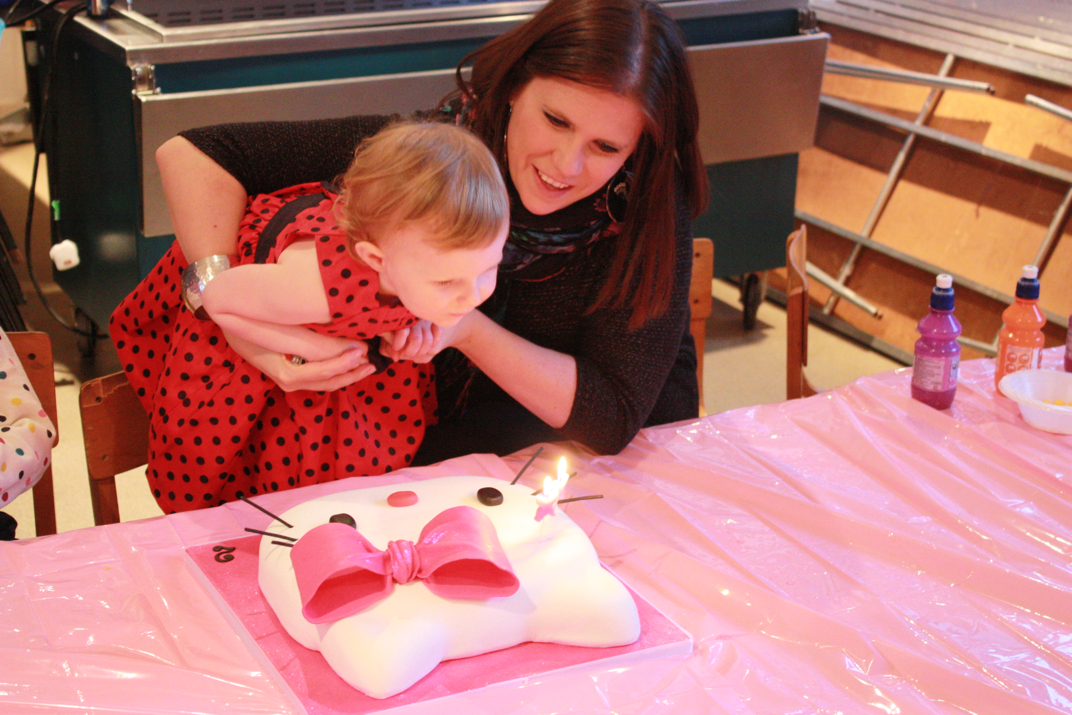 Blow! Here she is relaxing whilst enjoying her cake on the soft play equipment! Now to start planning next year... Life size Simba maybe?... 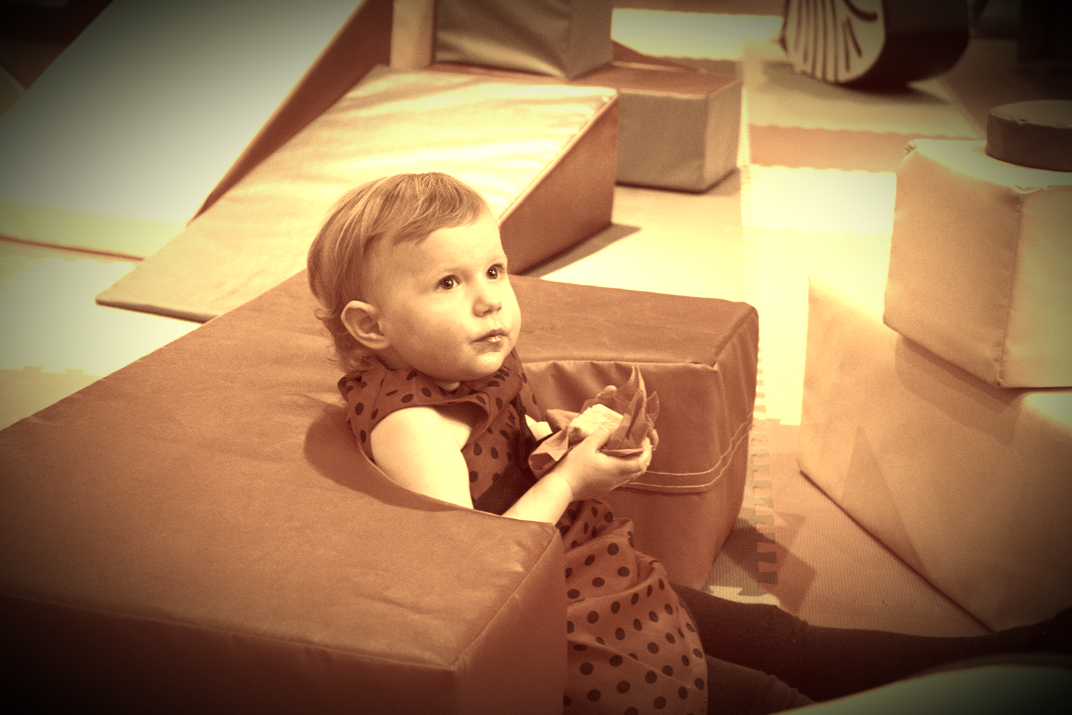 Yum yum! |
About AmyMum. Wife. Artist. Baker. Archives
November 2013
Categories
All
 |
 RSS Feed
