|
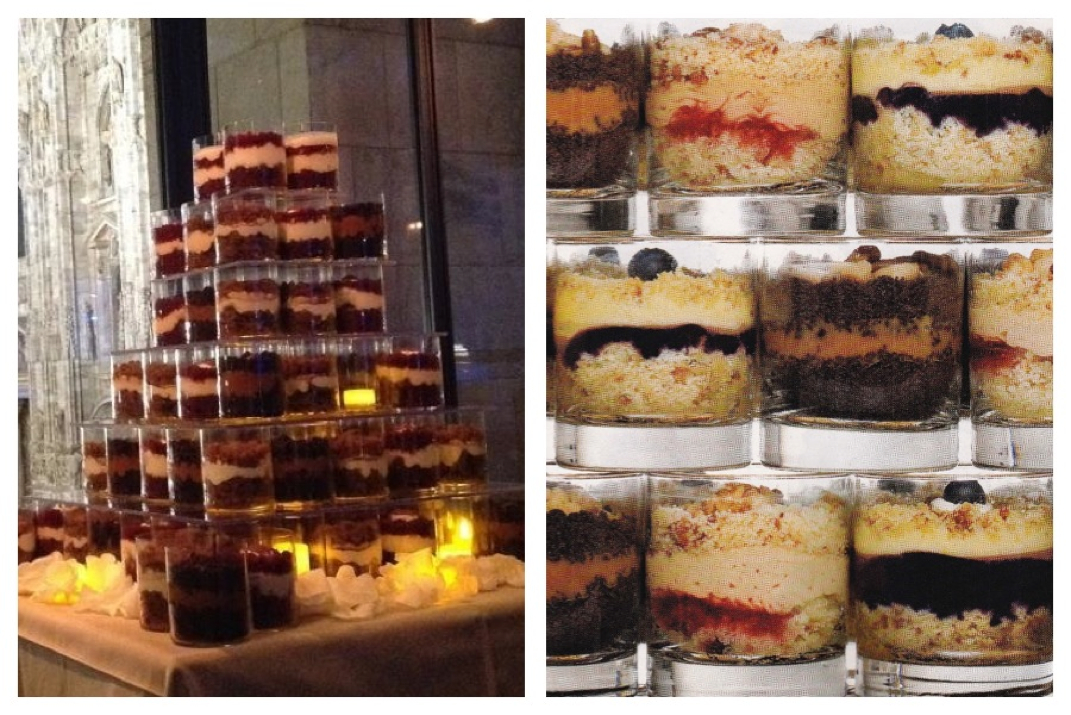
Twitter just alerted me to another possible use for the leftover cake scraps which are taking up valuable space in my freezer. Cake cups. What? I hear you shout. I know, it took me a while to get my head round these little babies too but essentially they are a cross between a cupcake and a trifle. They have been conjoured up by New York bakers www.beeskneesbakingco.com who originally made them as an alternative to cupcakes for weddings. Because they are served in whiskey glasses (or bourbon glasses if you are the other side of the pond) they can very easily be stacked to form a cake tower. Also the glasses can be ingraved with personalised wedding messages for guests as a memento of the day. Pretty good idea I'd say but what actually is a cake cup? It looks like crumbed cake at the bottom. Then a layer of frosting and filling with more cake on top. So it resembles a trifle in structure and you would definitely require a fork to eat. I'm thinking it is more of a dessert really than a cake, to me a cake can be eaten with your fingers but regardless I am going to try making some of these. The Lemon Raspberry which has raspberry honey jam and lemon curd filling sounds immense!
0 Comments
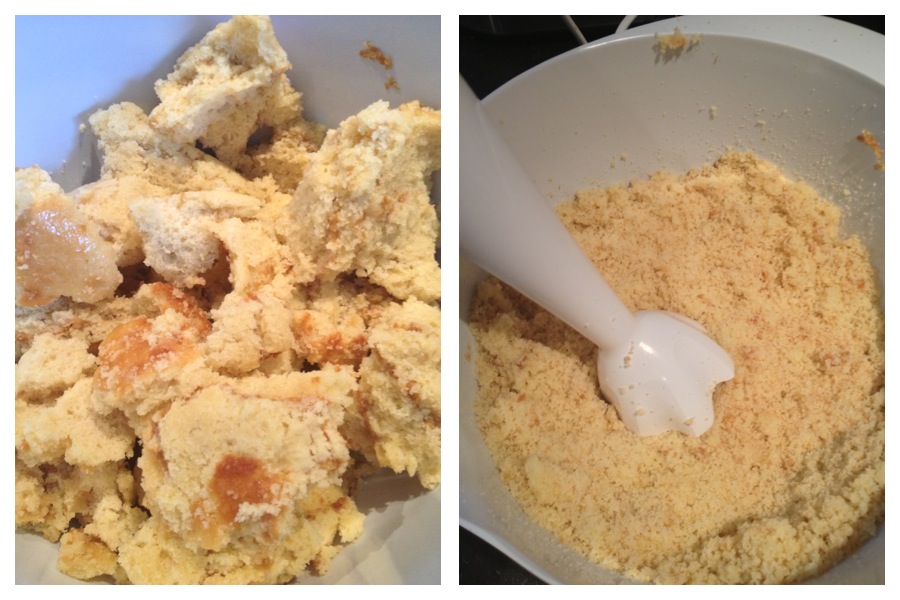
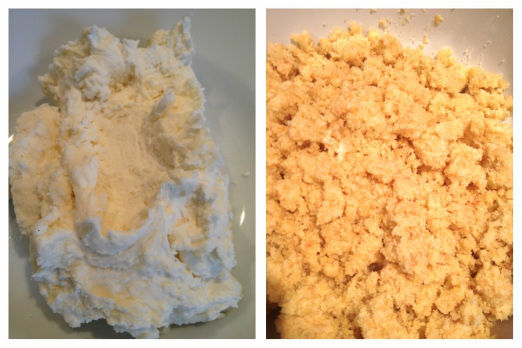
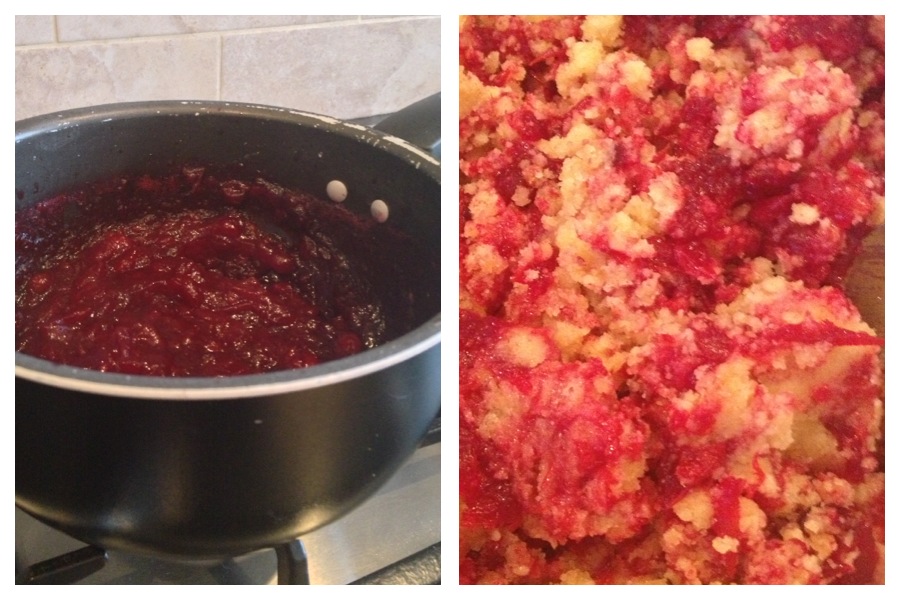
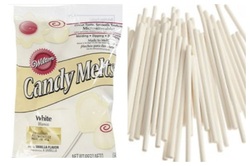
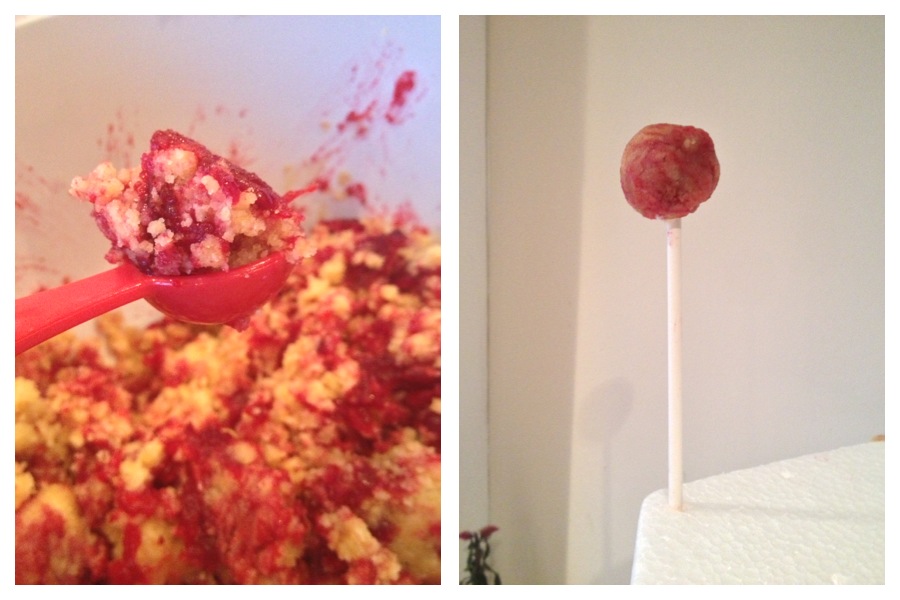
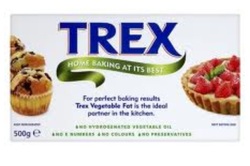
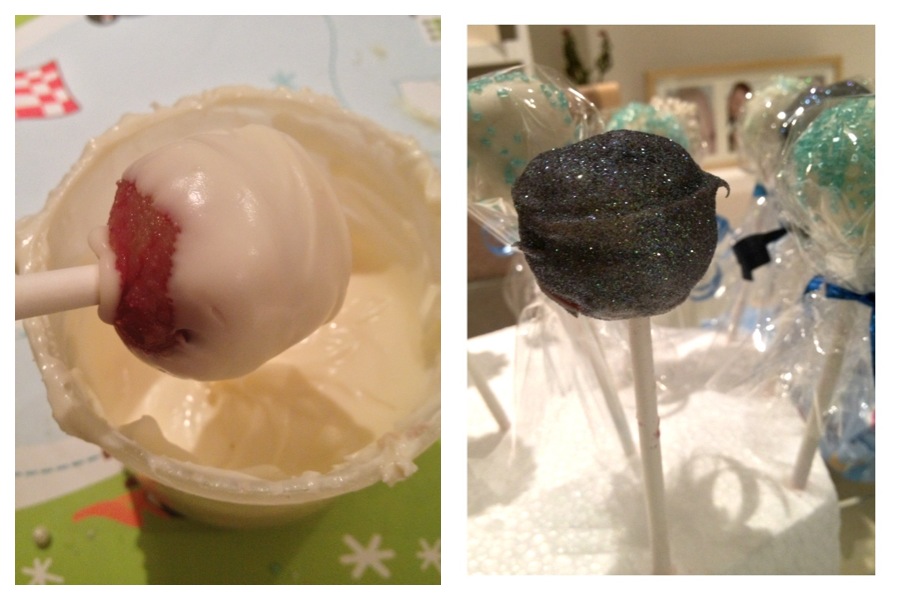
As promised this is my cranberry and vanilla cake pop tutorial for those who do not have the convenience of a cake pop maker! The first thing you need is crumbled cake. You can bake any flavour you like but I used vanilla cake scraps which I had bagged up in the freezer from my last bake. I defrosted the cake overnight then whizzed it into crumbs using a stick blender. Then I added some vanilla buttercream frosting (unsalted butter and icing sugar) to the crumbs a spoon at a time until the mixture was a little sticky but not too much - remember you are going to add the cranberry mixture which will add to the stickiness. Now for the cranberry mixture. I took a punnet of fresh cranberries and popped them in a saucepan with 100ml water and a tablespoon of caster sugar. Heat the mixture on the hob until the cranberries break down and you have a nice thick cranberry sauce mixture. It will still taste quite sharp but that is good because the cake mixture is very sweet. Leave it to cool a little but before it solidifies mix it through your cake crumbs in a rippled effect. Next you need to form the ball shapes. You'll need to melt a little of the candy melts topping and have your cake pop sticks ready. To form you ball scoop out some mixture using a measuring spoon. I found the teaspoon measure worked well. The roll it in your palms to form a solid ball. Dip the end of your stick in some melted candy melt and then poke it half way into the ball. This will help keep the pop on the stick during dipping. I poked my sticks into a polystyrene cake dummy for a few minutes then put them in the freezer for 15 mins to help the pops keep their shape. Melt the rest of the candy melts. You will notice the result is very thick. To thin it slightly melt in a little Trex shortening. This will make it easier to dip your pop. Grab your pops from the freezer a batch at a time. Dip each one in the candy melts. Take a look to see if you are happy with the covering. If not you can redip once the base coat is dry. When you have finished dipping you need to add your sprinkles or glitter immediately as the coating dries very fast. After decorating put them back into the styrofoam to dry completely. Once dry wrap individually in cellophane and tie off with matching ribbon.
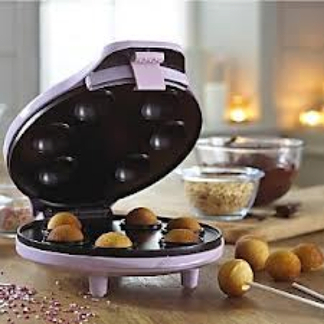
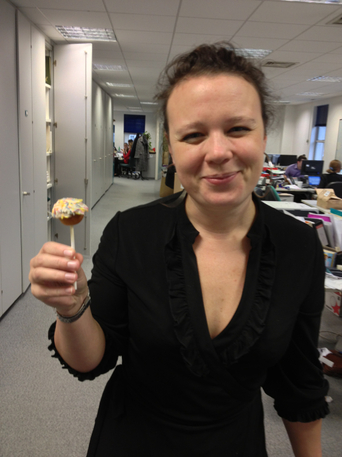
Cake pops hit work this week when my friend Melaney made some delicious treats for our colleague Jen's birthday. Melaney had a secret weapon at her disposal for this bake: a cake pop maker! This machine takes the faff out of cake pops. The time consuming element is the forming of the ball shapes and this gadget does it for you. Any flavour can be used and they only take 4 minutes to cook!
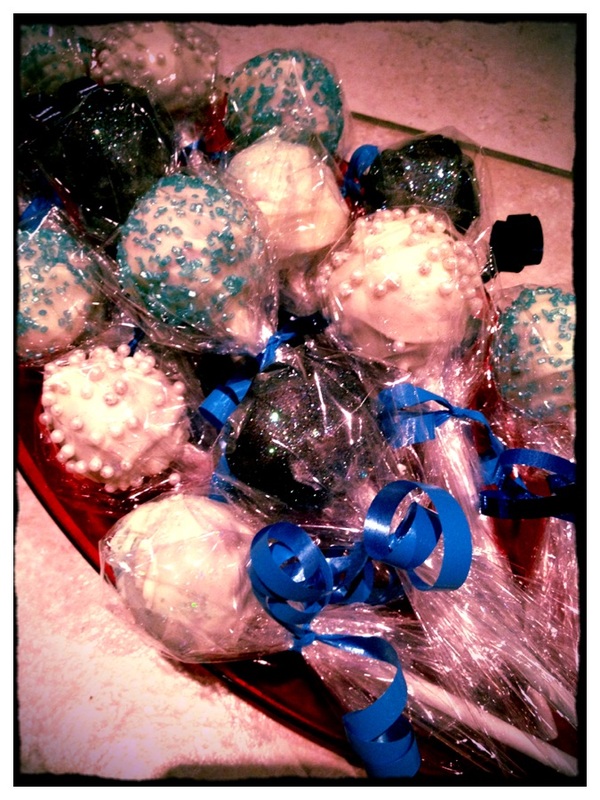
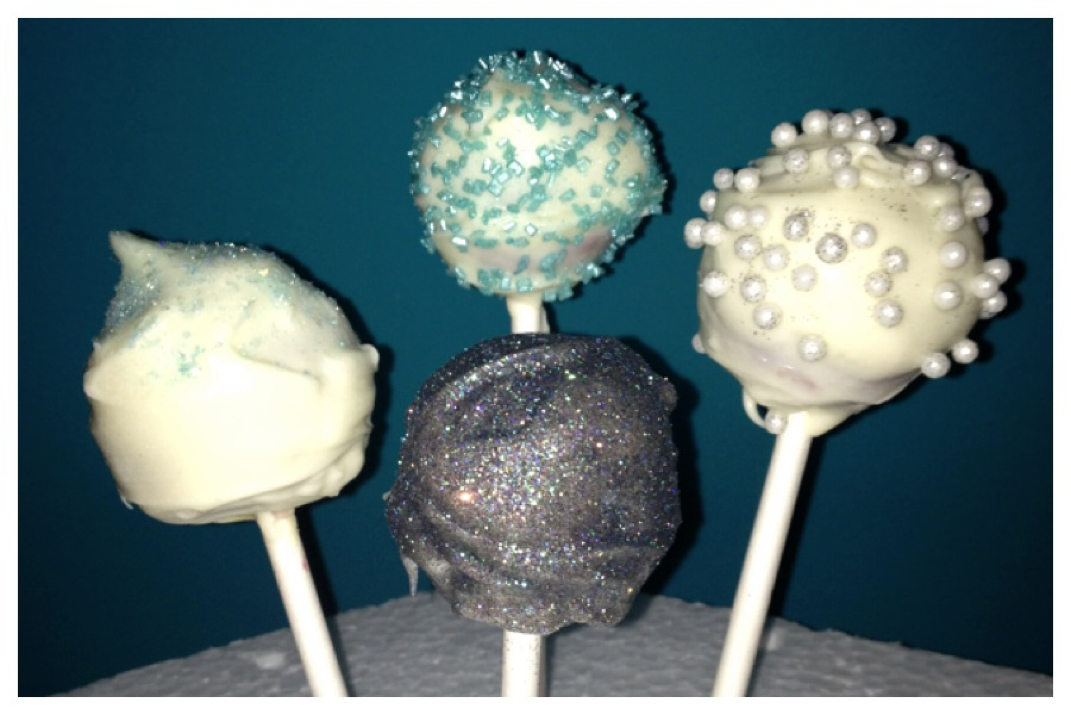
The cake pops were very moist and tasted a little bit like doughnuts. Definitely not like a cupcake. I quite liked the fact that they weren't as sweet as traditional cake pops which have frosting mixed into the cake mixture so they will form into the ball shapes. Melaney dipped the tops of the pops in white chocolate and decorated with sugar strands. They were delicious and a very good size to satisfy a sweet craving. If I can get Chris to allow another cooking gadget into the house I will be purchasing one! Or I may just hide it... Despite being unwell over Christmas I eventually managed to make cake pops. They were a lot trickier than I expected and I think a lot of practise will be needed to get them perfect but overall I was pleased with the result. I went for fresh cranberry and vanilla flavour cake coated in white chocolate candy melts. The decorations were all white and blue which looked really wintery and festive.
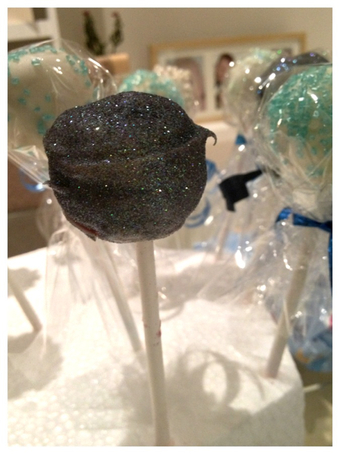
I used a very dark blue glitter dust, white pearl balls, aqua sugar crystals and blue glitter flakes. This contrasted well with the cranberry red colour middle but it did prove a little problematic coating the red sponge mix with white candy melts as it required a few coats to stop the red showing through. I wrapped each one individually in cellophane and finished with a blue ribbon. I have taken photos for a tutorial so watch this space for more details but for now I leave you with the critics Malcolm, James and Eloise who all gave them a thumbs up! |
About AmyMum. Wife. Artist. Baker. Archives
November 2013
Categories
All
|

 RSS Feed


