|
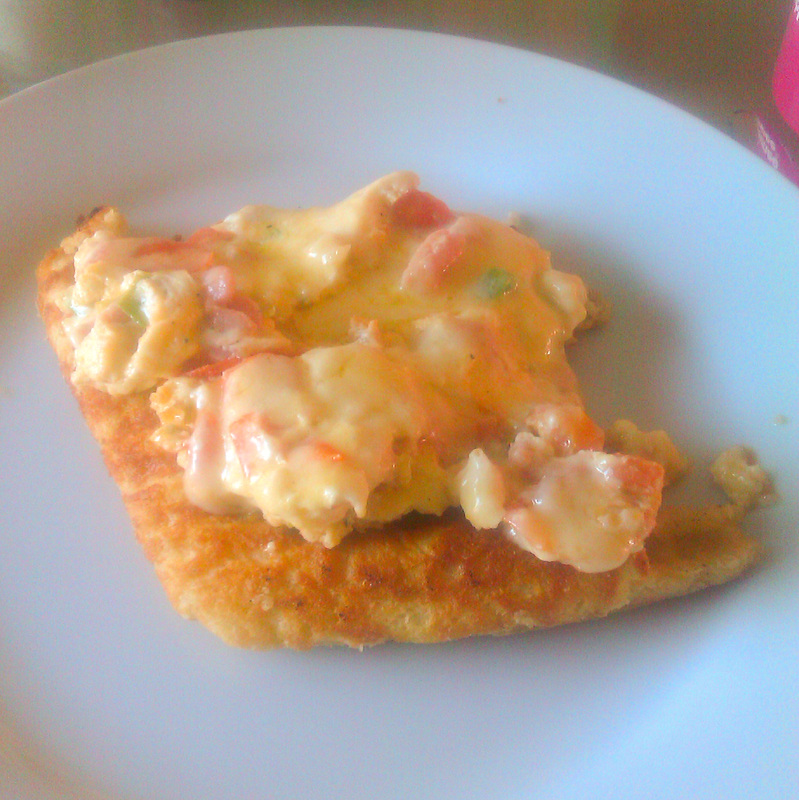
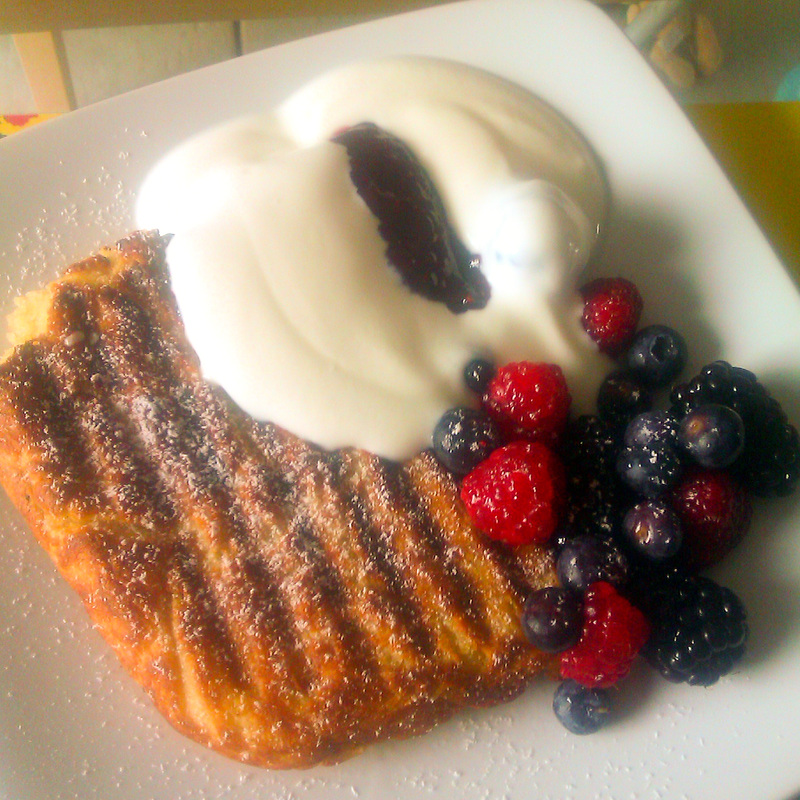
My best friend Laura and her little boy Ben joined Eloise and I for lunch yesterday and i decided to have a bash at a Jamie Oliver recipe for griddle pan waffles. I planned a 2 course wafflefest starting with savoury waffles topped with an omelette style egg, cheese, bacon, tomato and spring onion mixture. Then to follow sweet waffles sprinkled with icing sugar topped with fresh berries, natural yogurt and a blob of raspberry preserve. Instead of using a waffle pan/cooker these waffles are cooked on a standard griddle pan. After mixing up the batter you pour over a hot greased griddle pan and turn down to a medium heat for 8-10 minutes. You then flip (yes, you heard right, flip) the waffle over and cook the other side for a further 8-10 minutes. Despite Laura's skepticism the flipping went ok, but we did lose a little bit of the waffle during the landing! The 1st course of savoury waffles topped with the omelette worked exceptionally well. The waffles were light and fluffy and the topping complemented it perfectly. Everyone enjoyed it but we were too full to attempt dessert so we put the babies to bed and left the rest of the mixture until later... ...this was a mistake. The mixture became very dense and heavy and when i used it to make the sweet waffles mid afternoon they had lost the light fluffy consistency of the earlier batch. They still tasted ok but in future i would definitely make the batter just before cooking. Overall a great waffle shortcut!
0 Comments
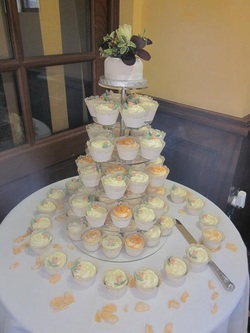 We were invited to a beautiful wedding this weekend at Silvermere golf club by the lovely Sarah and Dan. The day was perfect executed with handmade decorations and a mink colour scheme. The wedding cake was a lovely cupcake tower made by bridesmaid Michelle. The cupcakes were chocolate or vanilla sponge and iced with some fab 2 tone buttercream icing and mini roses. At the top of the tower a cutting cake was adorned with real flowers matching the brides bouquet. The cupcakes were displayed in gorgeous cupcake wrappers featuring delicate leaves and roses and placed on a clear acrylic stand. Rose petals were sprinked across the display table completing the look. Great job Michelle! 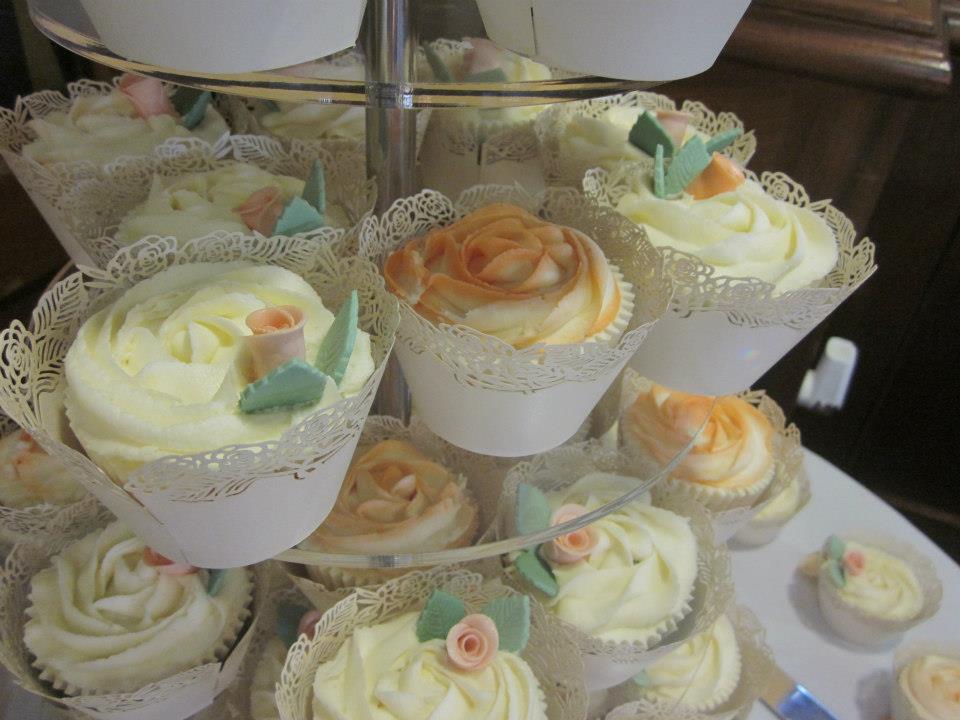 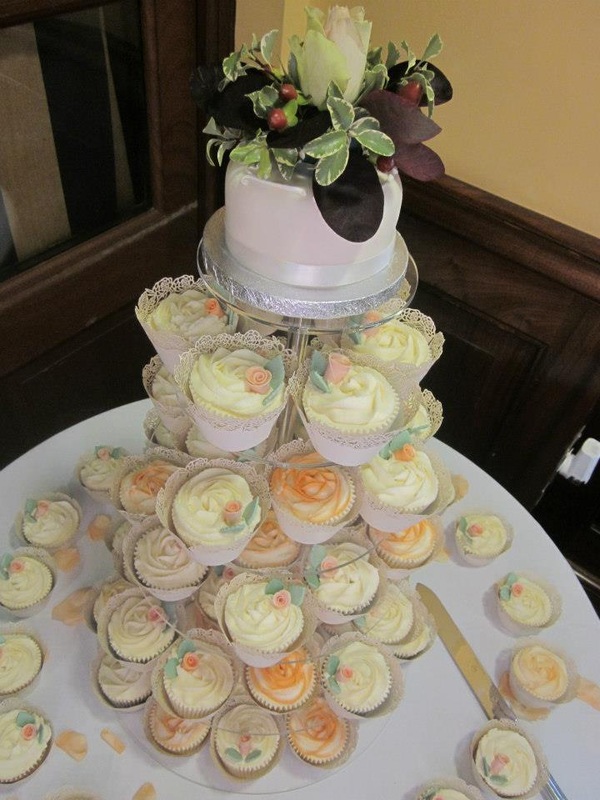 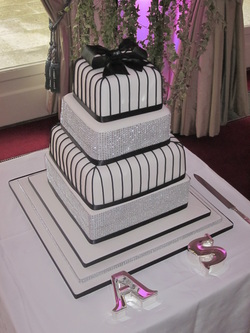 Sally & Anthony's wedding cake was my biggest challenge yet. Lots of research had gone into the design over the past few weeks and I decided the black, white sparkly square cake needed to be a real show stopper to match their classy art deco reception theme. Getting really square corners was important to me as so many square cakes you see on the internet are actually polystyrene dummies which give you perfect corners, so people expect to see this with the real cakes too. The main problem i had was the cakes were rising in the middle but the corners were cooking too quickly in the tin and not rising. I then had to level the cakes to get the perfect square corners which meant wasting loads of cake. I did some internet research and discovered that wrapping the baking tins in damp toweling can help the tin stay cool and allow the corners to rise up. This meant i had less cake wastage and I was able to bake the tiers faster. 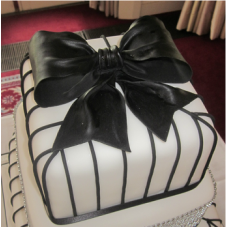 For impact i made each tier 4 inches deep and to give extra height i made a 3 tiered iced base so with the bow topper the cake stood at nearly 20 inches tall. To give the cake sparkle Anthony's Mum Carol had found some cake 'bling' which came on a roll. I wrapped this full height around 2 of the tiers and when the light hit the cake it sparked and shined. The other 2 tiers were decorated with thin icing stripes. Instead of piping black icing onto the white cake (a disaster waiting to happen!) i made the stripes by mixing 1:1 black sugarpaste and black flowerpaste. I pressed the icing through a sugarpaste gun which gave me neat stripes to attach by hand to the cake an inch apart.  To top the cake off i made a large black bow from black flowerpaste. When it dried the colour was a bit dull so i painted it with black food colouring to deepen the black and give it a slight sheen. Thin black ribbons around the base of each tier and alternating black and bling edging to the cake stand finished the design. I was so pleased with the result. It complemented Sally's beautiful fishtail dress and the ornate surroundings of the RAC club in Epsom Huge congratulations Sally and Anthony, you both looked stunning and so happy. And thank you for trusting me with making your cake! 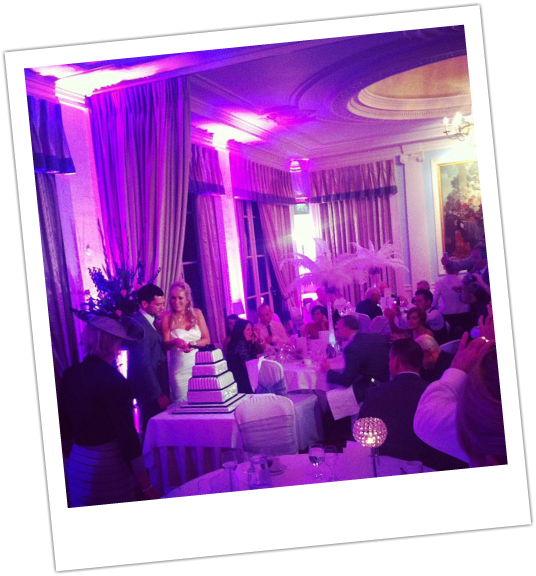 |
About AmyMum. Wife. Artist. Baker. Archives
November 2013
Categories
All
 |
 RSS Feed
