|
I do love a work birthday and this week was the turn of Alison our lovely Comms Exec. The office was unusually quite due to a mass holiday exodus so I decided to make some cookies rather than bake a cake. The first thing I did was bake a batch of eggless cookies. 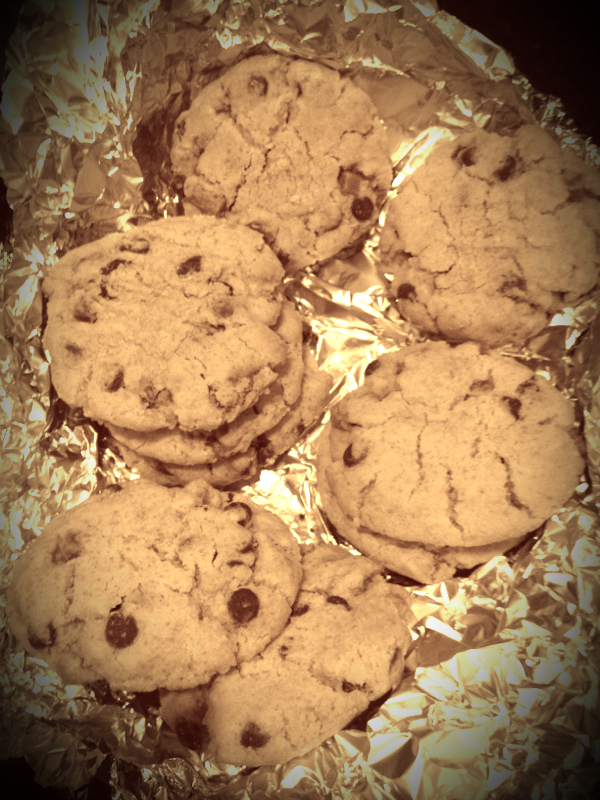 I added fudge chunks and chocolate chips to the mix and because I used real butter not margarine they had a really short texture which made them quite crumbly rather than chewy. After they were baked and chilled in the fridge I melted a pack of dark chocolate orange and dipped half the cookie. They looked scrummy (to use a Mary Berry term) but not special enough for a birthday treat so I turned to my trusty friend; iridescent glitter. It didn't let me down and transformed them into a riot of sparkles. Happy birthday Alison! 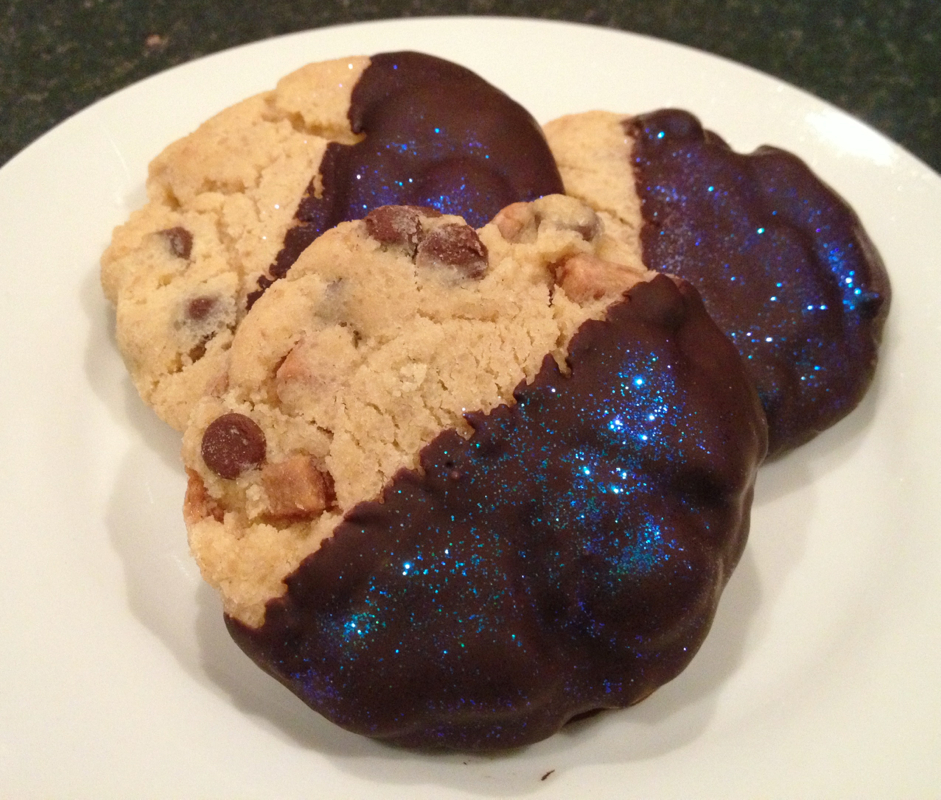
1 Comment
I was set a challenge this weekend. My good friend Muss was inspired by the film Grease and requested an 'Eskimo Pie' for our Saturday girls night in dessert. I had never heard of Eskimo pie before and so I had to clarify what she was expecting. The answer: Ice cream completely encased in shortcrust pastry - a bit like a pastry bomb. After a bit of head scratching and internet surfing I realised it could be done but would be more a case of assemblage than baking! 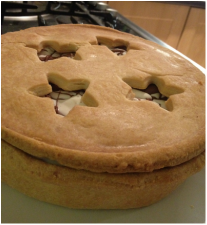 The first thing I had to do was blind bake a shortcrust pastry case using baking beads to weigh down the pie shell. I also baked a flat pastry top on a baking sheet with another baking sheet weighing it down to use as a lid. When this had cooled I softened some vanilla ice cream and mixed through some fresh raspberries. Working fast so the ice cream didn't melt, I spooned it into the pastry case and swirled through melted milk chocolate (Dairy Milk of course). The lid was then placed on top and the whole thing placed back in the baking tin to protect it in the freezer. A few wraps of cling film and a final layer of foil protected the pastry from freezer burn. 4 hours in the freezer and it was ready to transport to Catford (with the help of some ice packs) At the end of dinner we removed the pie from the freezer and the pan and left it on a plate for 20 minutes to allow the pastry to thaw slightly. I'd like to say at this point we ignored the pie and carried on having a raucous time but in all honesty we sat with the pie in the middle of the table, staring and salivating for 20 minutes... When the time was up I said a silent prayer and attempted to cut a slice. To my surprise it actually held together quite well. The pastry was nicely thin so it had thawed well and the flavour combination meant it was a bit like eating a raspberry shortcake dessert. The verdict: well, I'm a little ashamed to say the four of us ate the whole pie which probably says it all... 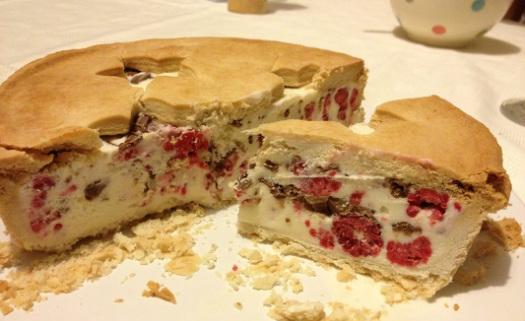 I never usually line my brownie pans. Usually I am making them in a rush or I've run out or I just can't be bothered... However, I have been inspired by the Great British Bake Off contestants who every week meticulously line their pans and tins with astounding accuracy. I aspire to this level of dedication! 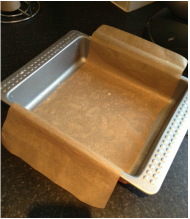 I use a slightly smaller tin than the brownie recipe states. This is because I like my brownies to be slightly deeper. I haven't (yet) invested in a brownie pan which has a slide out base so usually I have to massacre the first piece to get the brownies out. For this experiment I decided to go for one strip of baking paper across the widest length of the tin. This seemed like the most efficient option! 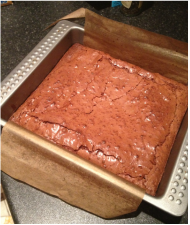 I only ever use the Hummingbird Bakery traditional brownie recipe. I use it as a base then add additional ingredients to the mix. Variations I like include substituting half the dark chocolate for milk, adding nuts and fruits or flavourings such as golden syrup or orange . For these brownies I used half milk chocolate and some homemade butterscotch to give a rich, creamy flavour. 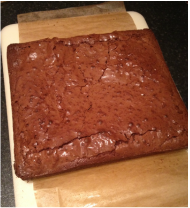 The brownies need to be just cooked so the middle is solid but chewy. You want a crunchy top with a few cracks but don't overcook or you'll have overcooked edges and none of that lovely gooey brownie middle. The lined tray made it ridiculously easy to remove the brownie slab from the tin in one piece. I feel rather stupid not to have been doing it all along. Brownies freeze excellently so you can batch bake and wrap tightly in cling film then foil to keep them fresh.
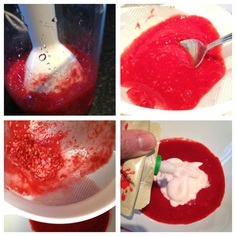
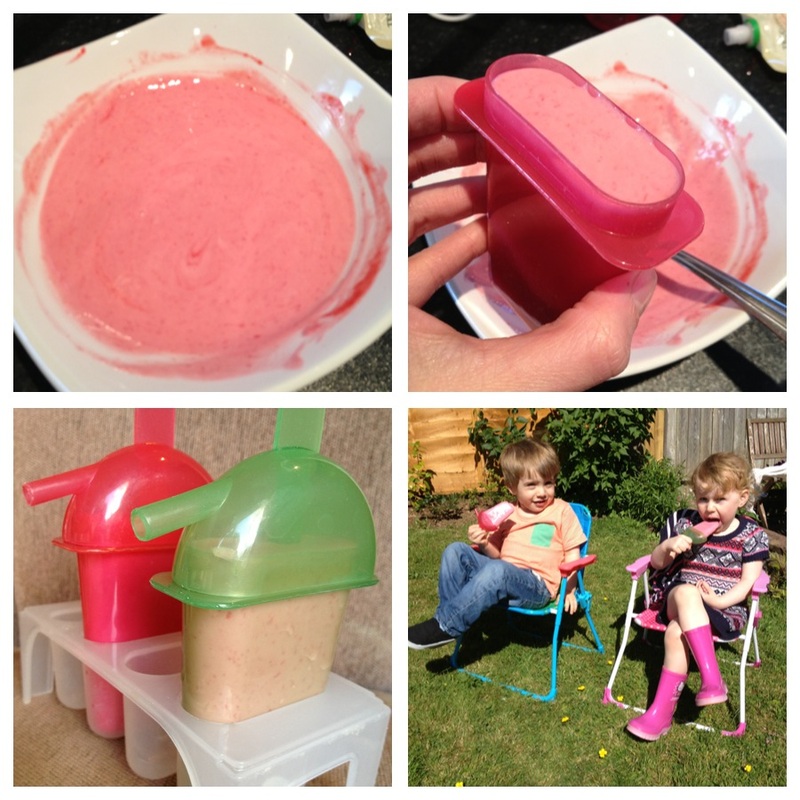
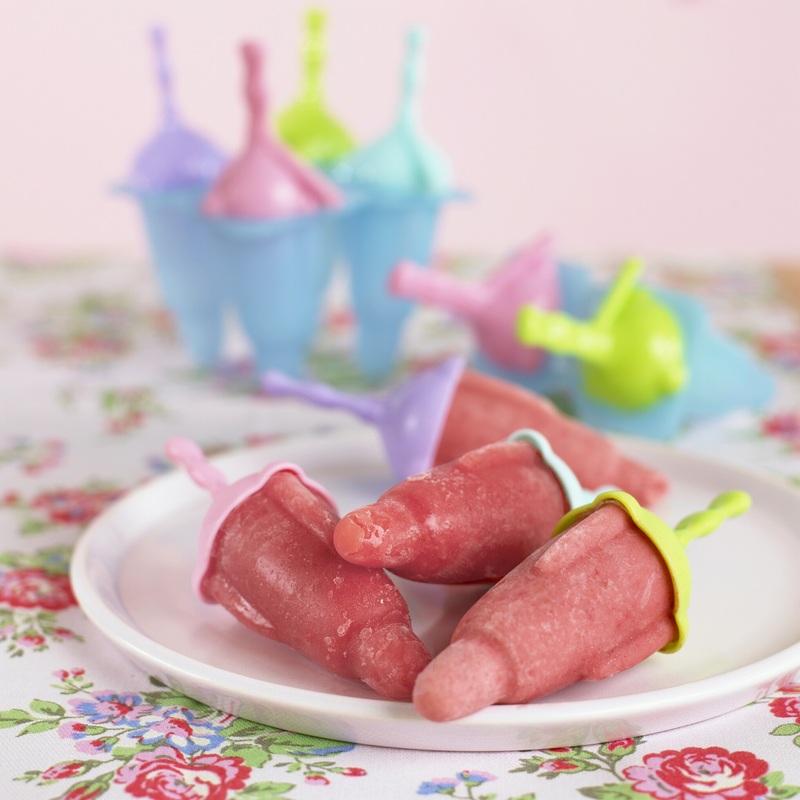
I couldn't resist trying out the raspberry lolly recipe Annabel Karmel shared here on the blog last week for teething toddlers and when Eloise's best friend Ben (who is currently cutting his last few molars) came to visit it was perfect timing. They were crazy easy to make following the simple steps. I must admit i only added half the caster sugar as my raspberries were nice and sweet. The only issue was that my lolly cases were huge so the mixure only made 2! Eloise and Ben didn't seem to mind though and enjoyed them in the sunshine.
I will be making these tonight and popping them in the freezer with my fingers crossed for a sunny weekend! If your little one is having a hard time teething Nelsons, the company i work for in daylight hours, make Teetha granules and gel which you can buy from the supermarket to help calm and soothe teething tots. Find out more at www.teetha.co.uk
|
About AmyMum. Wife. Artist. Baker. Archives
November 2013
Categories
All
 |
 RSS Feed
