|
I never usually line my brownie pans. Usually I am making them in a rush or I've run out or I just can't be bothered... However, I have been inspired by the Great British Bake Off contestants who every week meticulously line their pans and tins with astounding accuracy. I aspire to this level of dedication! 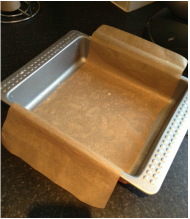 I use a slightly smaller tin than the brownie recipe states. This is because I like my brownies to be slightly deeper. I haven't (yet) invested in a brownie pan which has a slide out base so usually I have to massacre the first piece to get the brownies out. For this experiment I decided to go for one strip of baking paper across the widest length of the tin. This seemed like the most efficient option! 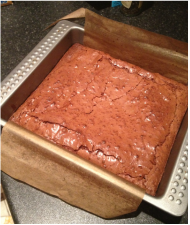 I only ever use the Hummingbird Bakery traditional brownie recipe. I use it as a base then add additional ingredients to the mix. Variations I like include substituting half the dark chocolate for milk, adding nuts and fruits or flavourings such as golden syrup or orange . For these brownies I used half milk chocolate and some homemade butterscotch to give a rich, creamy flavour. 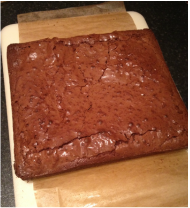 The brownies need to be just cooked so the middle is solid but chewy. You want a crunchy top with a few cracks but don't overcook or you'll have overcooked edges and none of that lovely gooey brownie middle. The lined tray made it ridiculously easy to remove the brownie slab from the tin in one piece. I feel rather stupid not to have been doing it all along. Brownies freeze excellently so you can batch bake and wrap tightly in cling film then foil to keep them fresh.
0 Comments
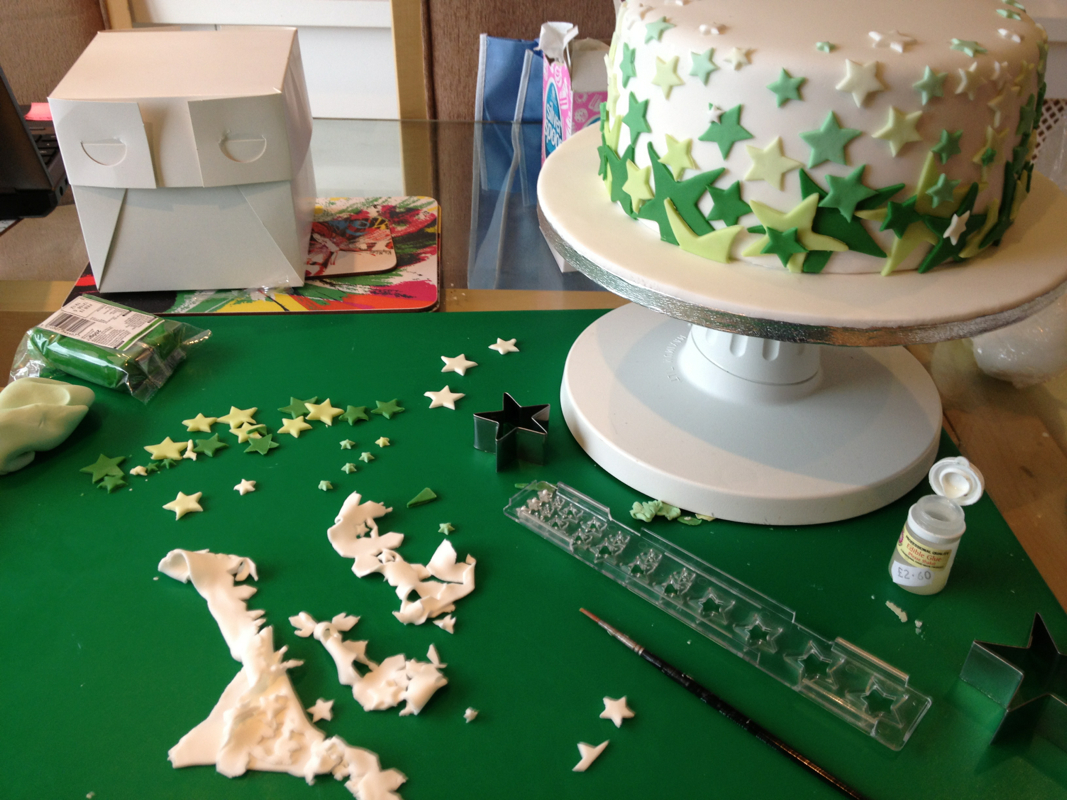
I thought I would share this snap of my workstation during cake decorating.
I use this large green non stick board to roll out my icing. It is an expensive tool but invaluable. You can get smaller sizes but for rolling out large pieces this is the best size. I have my cake up on a turntable so I can continually move it around to see it from all angles. This means there is less chance of dropping the cake! I mixed up a variety of green sugar paste to decorate this cake and I keep the different colours wrapped in plastic so they don't dry out as I am working. I roll the icing out using a little trex vegetable fat. This makes it easier to roll without loosing the vibrancy of he colour which happens when using icing sugar. I used star shaped cutters on this cake and stuck them onto the cake using edible glue. And finally hiding in the box at the back is the cake topper I made earlier! I keep them boxed up so that I don't damage them whilst making the rest of the cake. I should point out I am only sharing this picture as i was having a tidy moment and thought I should capture it on camera! Usually my kitchen it a sea of madness with a pristine cake in the middle! 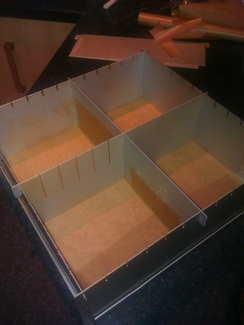 Making Sally's wedding cake is giving me a great opportunity to make use of my Silverwood multi size cake tin. I bought this tin a few years back and it is really flexible and has some great features:
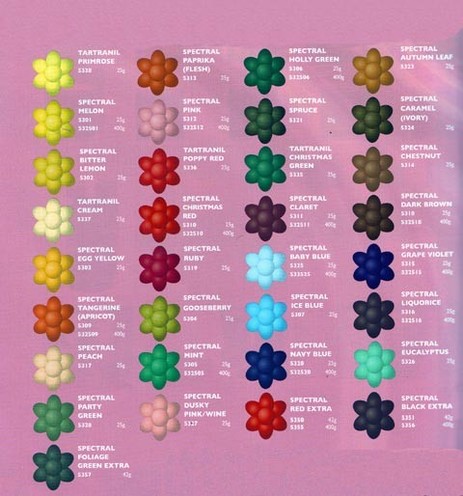
At about £30 for the pan and extra dividers it is not cheap but it replaces every size of square/rectangular cake tin you'll ever need so taking that into account it is a bargain. Make sure you shop about because the prices vary dramatically online with some charging nearly double. One little tip. The mixture does seep through the little central divider slits so simply spray with cake release spray and pop a little strip of baking paper across the slits to block them up. You can see in the photo where i have lined the bottom of the pan and the central lower slits. I then simply spray the whole pan with baking release and the cake doesn't stick. Because the walls collapse it is so easy to get the cakes out of the tin. I have had a query on an old post about how i colour my buttercream icing, so i thought i would tell you all about the Sugarflair food colouring pastes i use.
These pastes are much much thicker than the liquid food colouring you buy in the supermarket, about as thick as toothpaste. You add them to your buttercream using a toothpick and slowly adding it a small amount at a time until you build up the colour you want. You can mix colours to create the exact tone you need. If you are colouring red or black you can buy Black extra or Red extra which are concentrated so you don't have to use as much to get intense colour. I find it works really well for buttercream and you can colour large amounts really easily. But if you are colouring fondant with a very deep colour i recommend you buy ready coloured fondant or use a powdered pigment colour as the paste tends to make the fondant wet and sticky if you use too much. I think i may have finally found the white cupcake cases for vintage themed wedding cupcakes.
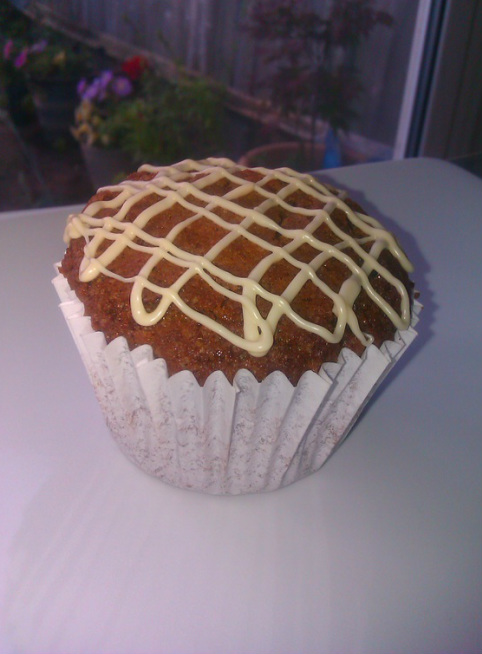
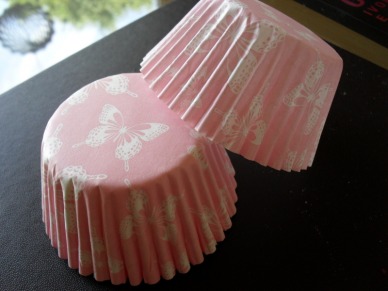
I tried these Culpitt cases (which are the only white cupcake cases Surbiton Sugarcraft sell) with the last Herman cake cupcakes and despite the mixture being a dark, chocolate colour i got very little discolouration and virtually no oil seepage. I think with a lighter colour sponge they will stay white! Fingers crossed! I recently bought some lovely butterfly cupcake cases. They are pale pink with white butterflies on. However, i made the mistake of using them for chocolate cupcakes.
The result - the mixture was too dark and completely obliterated the design. So if you have got some pastel coloured fancy cupcake cases beware and use a light coloured mixture to show them off at their best. |
About AmyMum. Wife. Artist. Baker. Archives
November 2013
Categories
All
|
 RSS Feed


