|
As promised this is my cranberry and vanilla cake pop tutorial for those who do not have the convenience of a cake pop maker! The first thing you need is crumbled cake. You can bake any flavour you like but I used vanilla cake scraps which I had bagged up in the freezer from my last bake. I defrosted the cake overnight then whizzed it into crumbs using a stick blender. 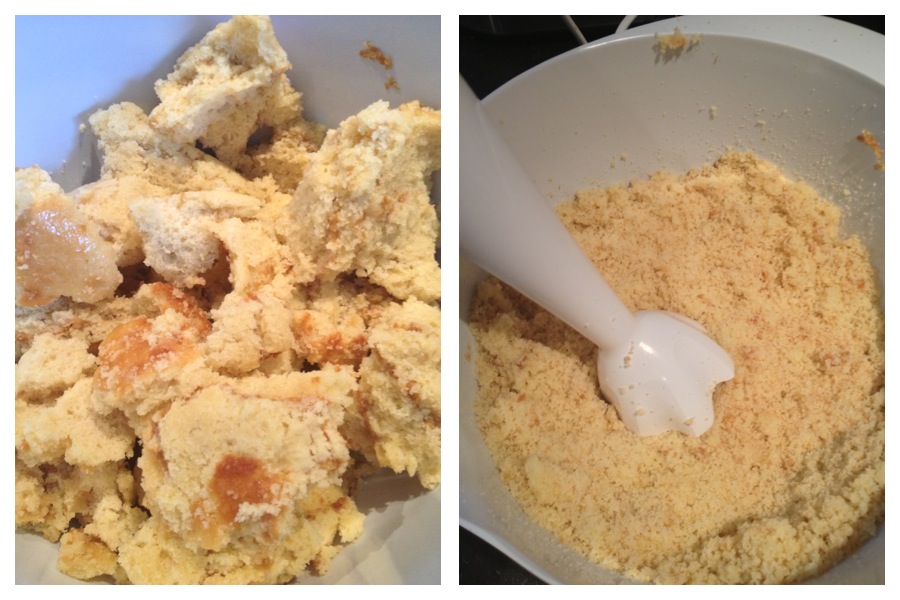 Then I added some vanilla buttercream frosting (unsalted butter and icing sugar) to the crumbs a spoon at a time until the mixture was a little sticky but not too much - remember you are going to add the cranberry mixture which will add to the stickiness. 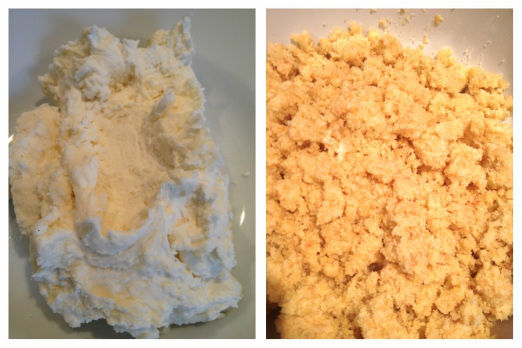 Now for the cranberry mixture. I took a punnet of fresh cranberries and popped them in a saucepan with 100ml water and a tablespoon of caster sugar. Heat the mixture on the hob until the cranberries break down and you have a nice thick cranberry sauce mixture. It will still taste quite sharp but that is good because the cake mixture is very sweet. Leave it to cool a little but before it solidifies mix it through your cake crumbs in a rippled effect. 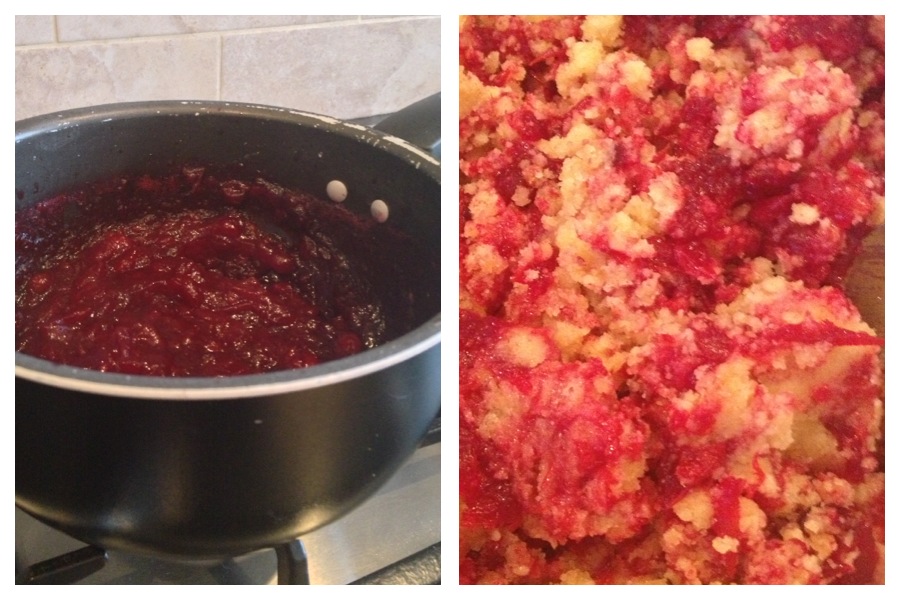 Next you need to form the ball shapes. You'll need to melt a little of the candy melts topping and have your cake pop sticks ready. 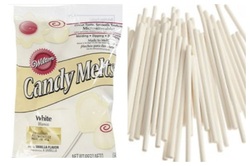 To form you ball scoop out some mixture using a measuring spoon. I found the teaspoon measure worked well. The roll it in your palms to form a solid ball. Dip the end of your stick in some melted candy melt and then poke it half way into the ball. This will help keep the pop on the stick during dipping. I poked my sticks into a polystyrene cake dummy for a few minutes then put them in the freezer for 15 mins to help the pops keep their shape. 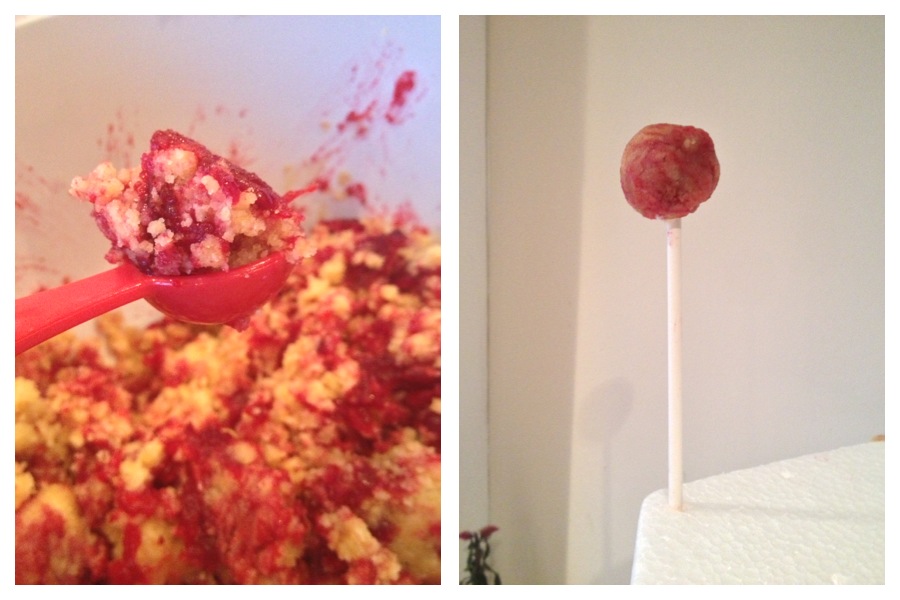 Melt the rest of the candy melts. You will notice the result is very thick. To thin it slightly melt in a little Trex shortening. This will make it easier to dip your pop.  Grab your pops from the freezer a batch at a time. Dip each one in the candy melts. Take a look to see if you are happy with the covering. If not you can redip once the base coat is dry. When you have finished dipping you need to add your sprinkles or glitter immediately as the coating dries very fast. After decorating put them back into the styrofoam to dry completely. 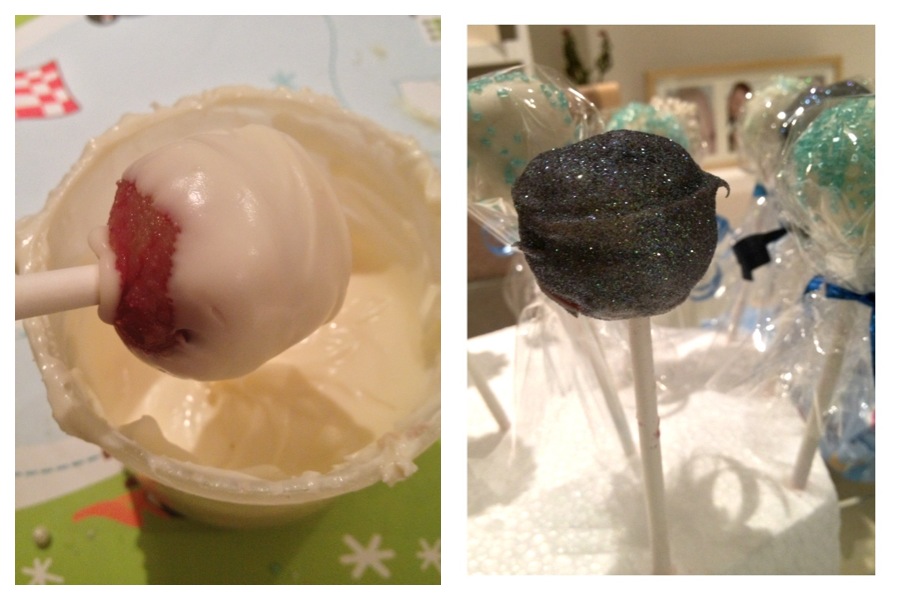 Once dry wrap individually in cellophane and tie off with matching ribbon. 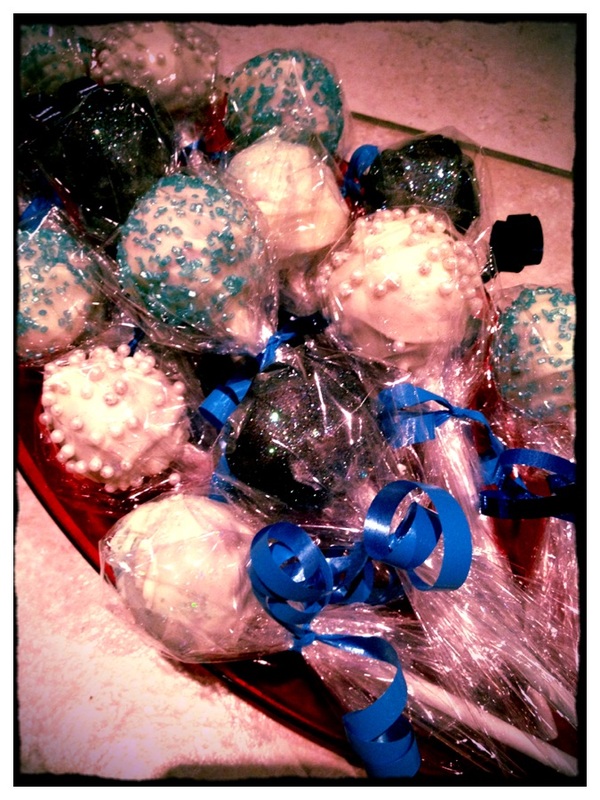
0 Comments
Leave a Reply. |
About AmyMum. Wife. Artist. Baker. Archives
November 2013
Categories
All
 |
 RSS Feed
