|
Our friends Ben and Sarah visited today with their little girl Tilly. I wanted to make an easy, light dessert as it was so beautifully warm today (shock horror! A UK bank holiday without rain!) I decided on Eton Mess. The only problem was I hate shop bought meringue, I find it too crunchy and overly sweet, so it was time to bite the bullet and give homemade meringue a try. I've seen it made a million times on The Great British Bake Off so it couldn't be that hard... surely... 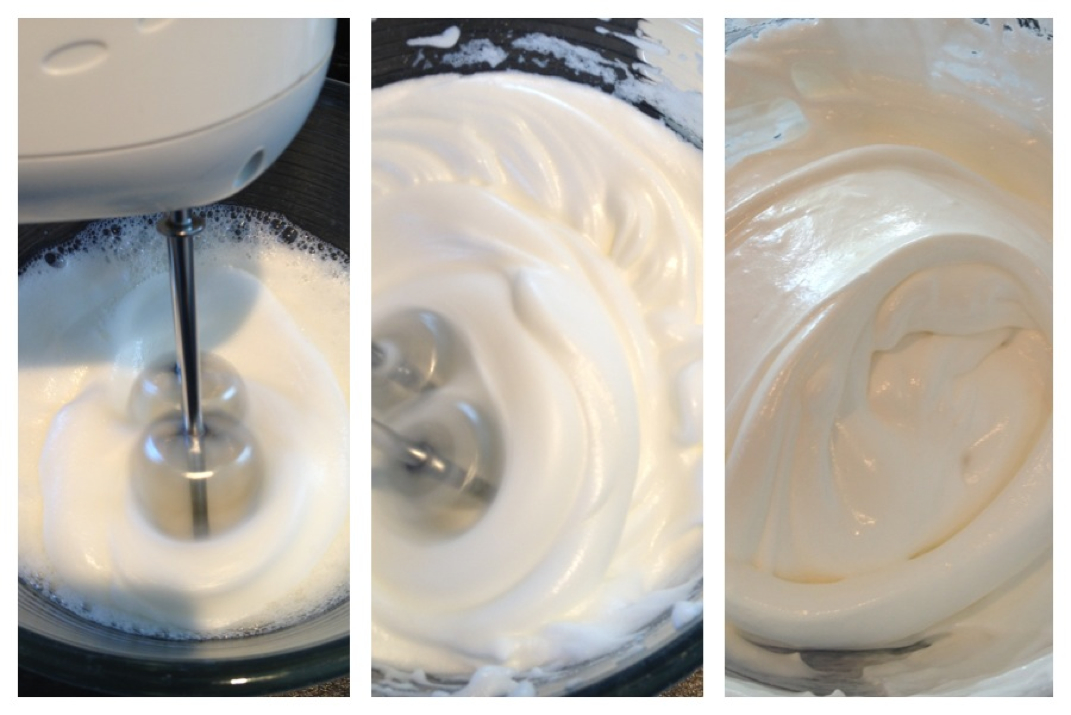 I found the most simple recipe I could find which involved whisking 4 egg whites until it forms stiff peaks, adding 115g caster sugar a teaspoon at a time, then slowly folding in 115g icing sugar. I have learnt through watching too many TV cookery programmes that the way to test if your meringue is stiff enough is to hold the bowl upside down over your head. So Eloise and I gave it a go. Success! 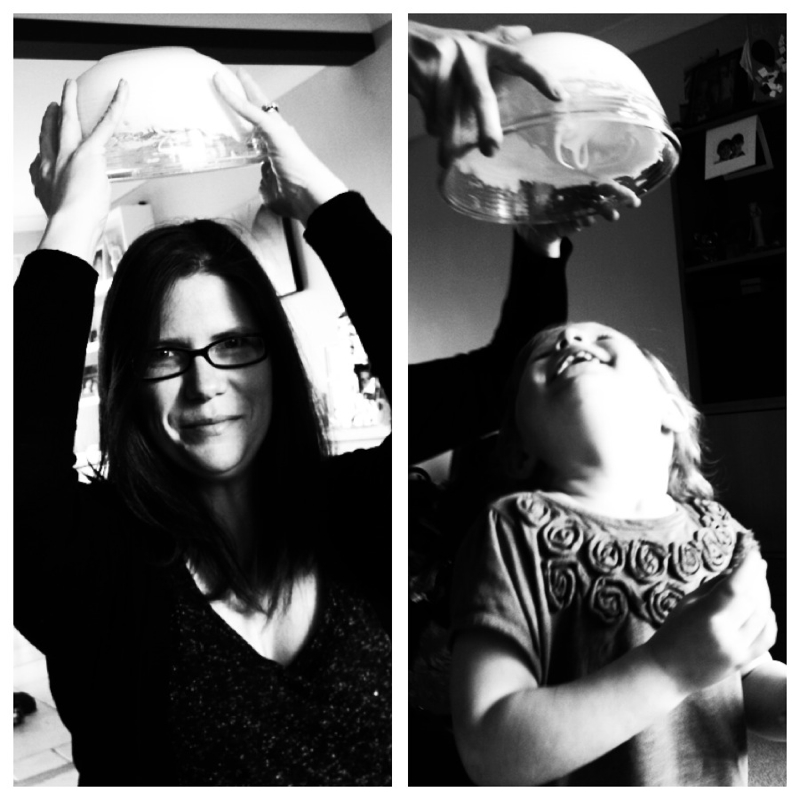 I spread the mixture onto a lined baking tray and popped it into a 100•c oven. It is supposed to be done when it looks a pale coffee colour. After 2 hours mine still looked pretty pale but I didn't want to risk meringue disaster my first time out so I turned off the oven and left it inside to cool. 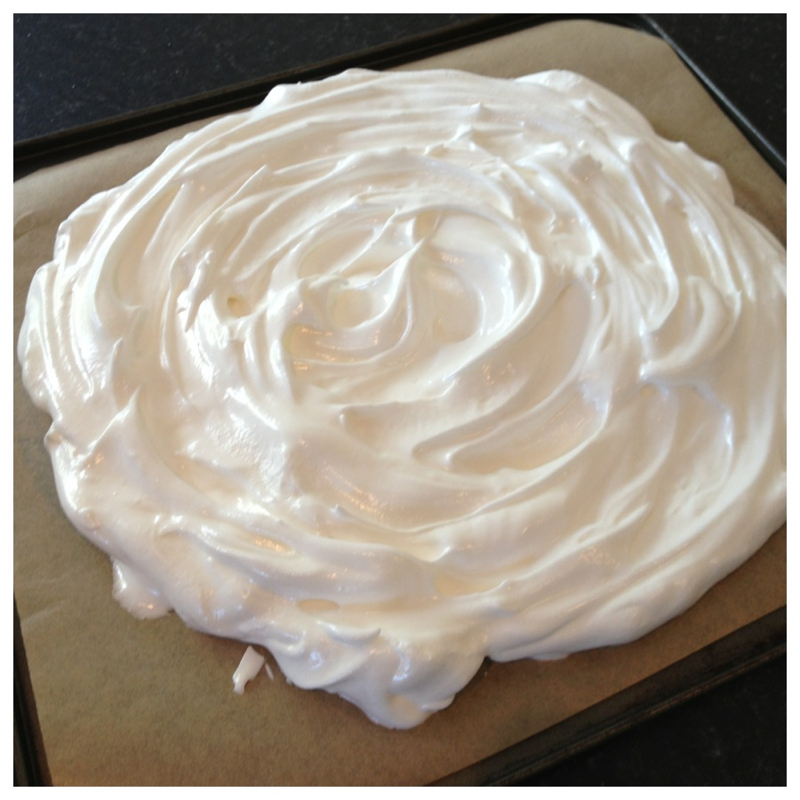 It was perfect, crisp on the outside and chewy in the middle. I smashed it up and mixed with berries and whipped cream and served in sundae glasses with a fruit garnish.
In the pudding frenzy I forgot to photograph this momentus moment so you'll have to take my word for it... If challenged I can provide witnesses.
0 Comments
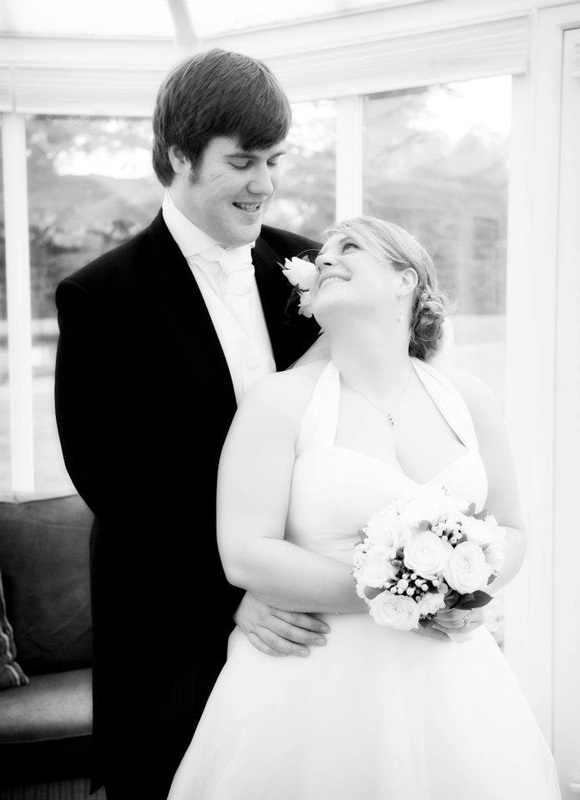
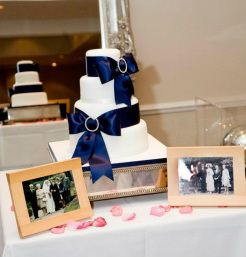 Blue bow wedding cake Blue bow wedding cake One of my oldest friends Lizzy got married to her fiancee Jeff back in March at the Warbrook House Hotel. I had the honour of making her cake :-) The whole wedding was very clean and unfussy featuring a lovely deep blue theme with accents of pink. The cake was a smooth white four tier round number with dramatic ribbon bows wrapped around two tiers. A diamante brooch in the centre of each bow added some bling to the design and picked up the detail on Lizzy's dress. I have to let you into a little secret about the fabric bows; they were a bloody nightmare! Trying to tie a conventional bow around a cake is not a easy as it sounds. The bow looks crap and don't sit properly against the cake. So after a lot of stomping around the house i ended up making the bows the same way i make icing bows. I added the sash around the cake first. I then cut 2 tails and stitched them onto the sash. For the main bow i shape i stitched closed a loop of fabric and then wrapped a small piece of fabric wrapped around the middle of the loop pulling it into a knotted shape. I then stitched this bow onto the sash. I am aware 98% of you are screaming at your computer/phone screen 'Just tie the ribbon around the cake!!!' and you are probably right. The 2% who aren't understand me perfectly and can come round for tea.
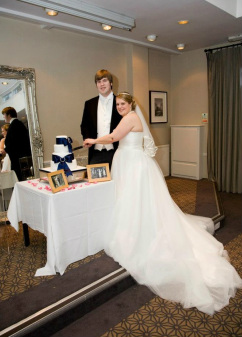
The cake was 4 different flavours and was displayed on a iced board and silver cake stand. Lizzy and Jeff decorated the cake table with pictures of their parent's weddings which was a beautiful and personal touch. I received a lovely note from Sheila, Mother of the Bride, and it appears the cake was so popular there was nearly a fight over the leftovers. Now that has to be the perfect compliment...
Today it is raining. Chris is out for the day so Eloise and I have been entertaining ourselves with our latest eBay purchase (The Little Mermaid DVD), napping (Eloise), laundry (me) and baking. Well not quite baking. More melting, mixing and refrigerating. I don't remember making these as a child but I remember eating them! Baking with Eloise is still a challenge but she is getting better and enjoys filling up the cases now. The only problem is i have to make double as she eats so much along the way! Luckily her wares only get eaten by the family... 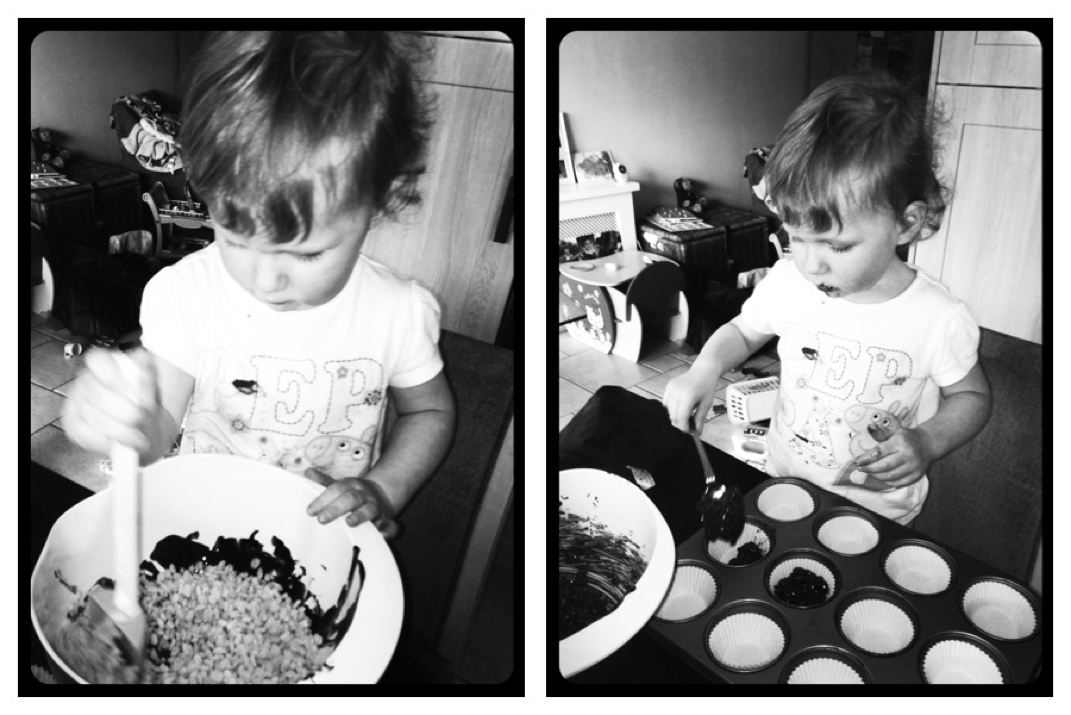 Action shots I really like fridge cakes. One of my favourite is a mixture of crushed digestive biscuits, melted butter, golden syrup, melted chocolate and a good slug of Cointreau. Mix the lot together, spread in a baking tray lined with cling film and cover well. Freeze (yes, freeze) chop up into wedges and enjoy. 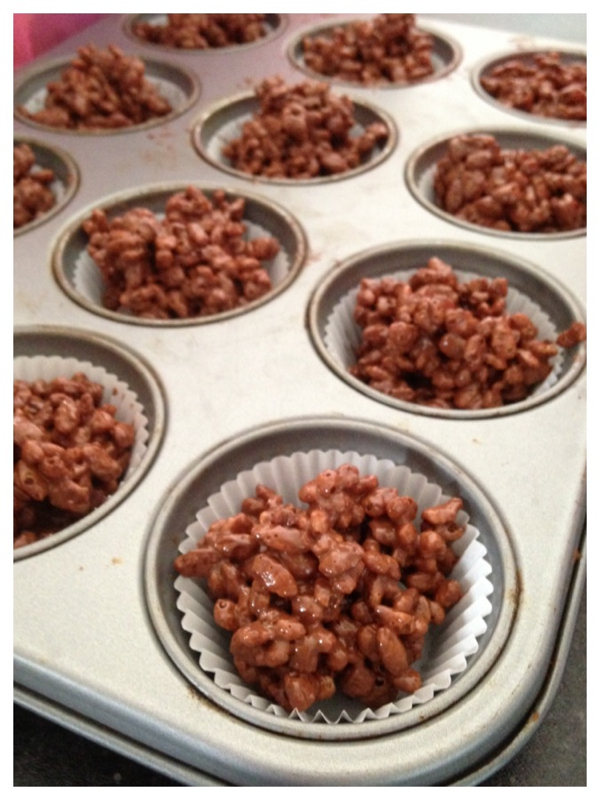 Top tips for fridge cakes:
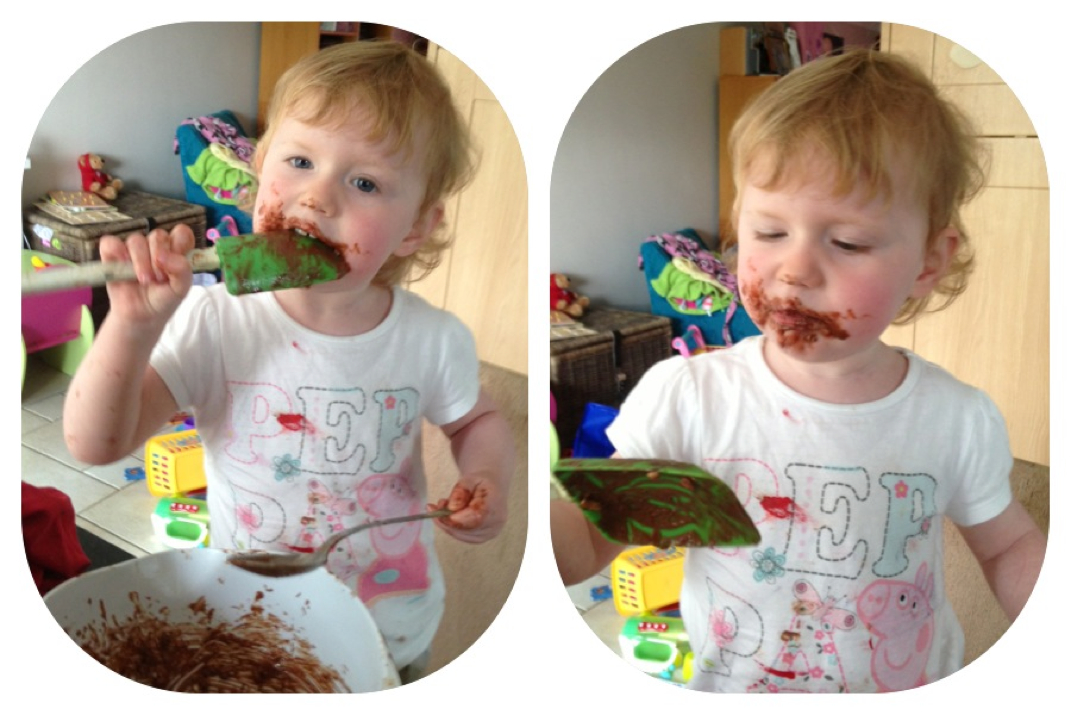 Eloise, you've got a little bit of chocolate on your face... And remember to leave enough mixture for spoon licking at the end!
Can't wait to enjoy these together tomorrow. Perhaps we may even get enough sun to sit in the garden (not holding my breath!) This post is somewhat belated but my little girl Eloise, who makes frequent guest appearances on this blog, turned 2 at the end of February. I know what you are all thinking, i look way too young to have a 2 year old (cough, cough) but it is true. Now Eloise has a lot of favourite things. Her favourite movies are The Lion King, Monsters Inc and Beauty and the Beast. Her favourite cartoons are Scooby Doo, Peppa Pig and Tom & Jerry. Her favourite books are Winnie the Pooh, Chocolate Moose for Greedy Goose and The Bravest Ever Bear. But one if her all time favourite things is Hello Kitty. She has everything Hello Kitty from her little table and chairs to pyjamas. So it had to be Hello Kitty. Plus it is pink which pleases me. 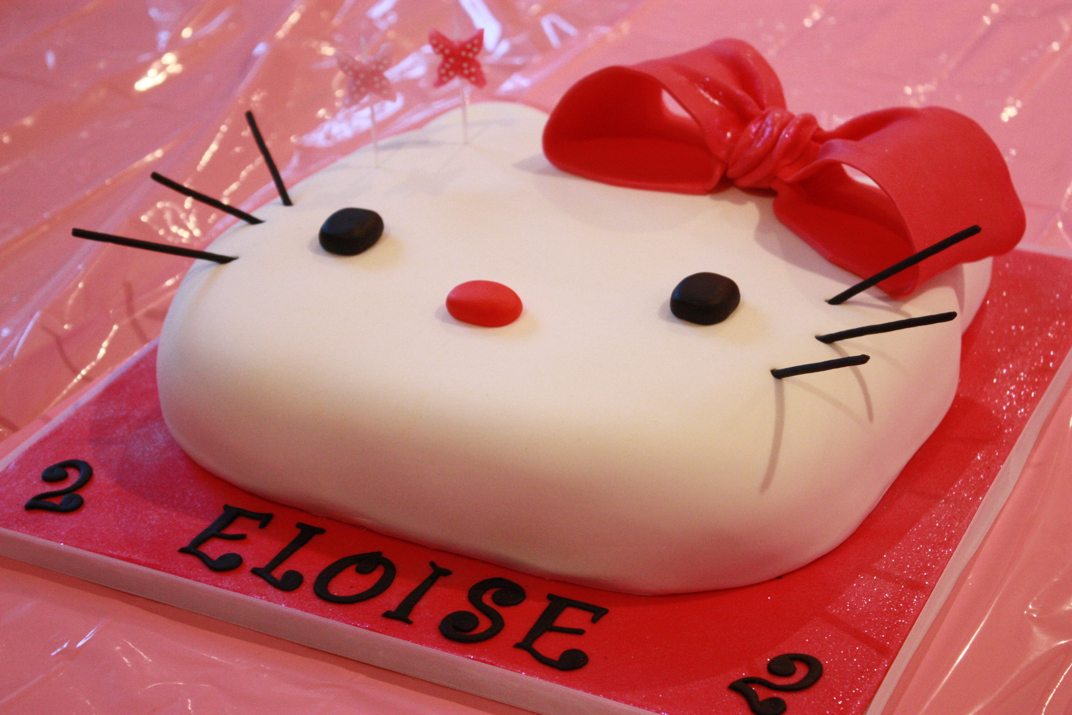 Hello Kitty birthday cake You'll see in my gallery i have made a few Hello Kitty cakes but i think the simplist and most effective is the face cake. The cake was lemon which is Eloise's favourite and i sculpted it from a 12'' square. The key is to make sure the edges are slightly rounded and the ears are a little lower than the rest of the cake. I use a slightly thicker icing to make sure i get a smooth finish. This cake needed to be extra special so i made a 3D bow out of modeling paste and left it to dry overnight before adding to the cake. The final touch was black icing whiskers which i made using flower paste and my special icing press. The detail could just as easily have been achieved with thin chocolate sticks (such as the box of matchmakers i had on standy) 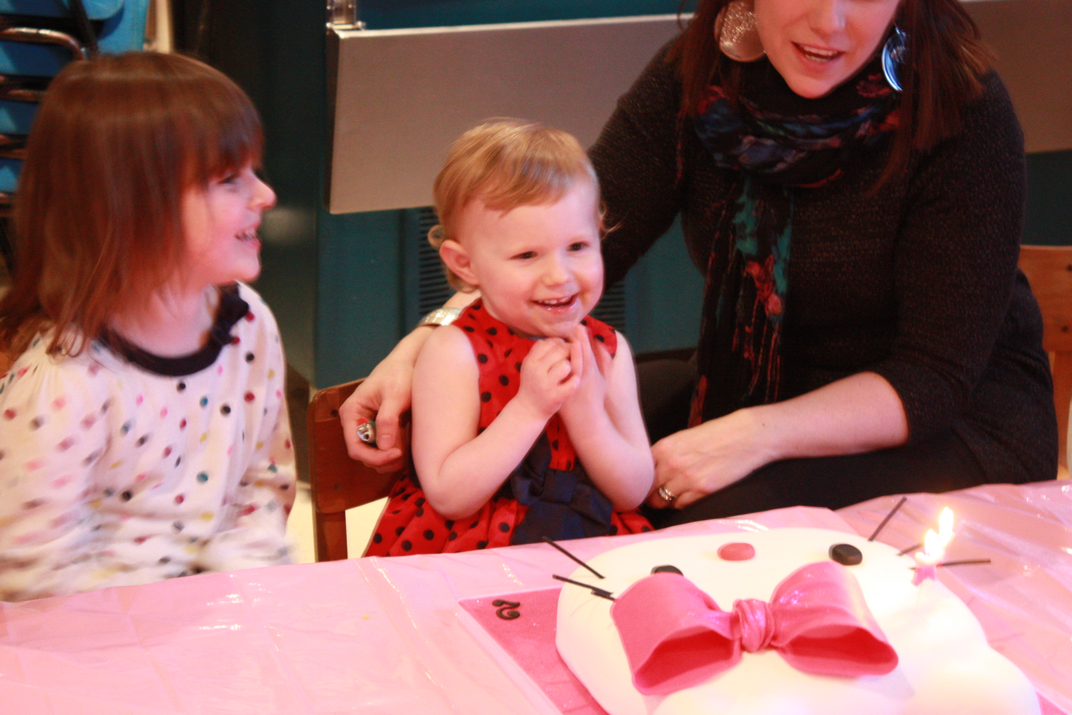 Look at that face! Eloise was beyond excited about her cake and enjoyed blowing out the butterfly candles twice! 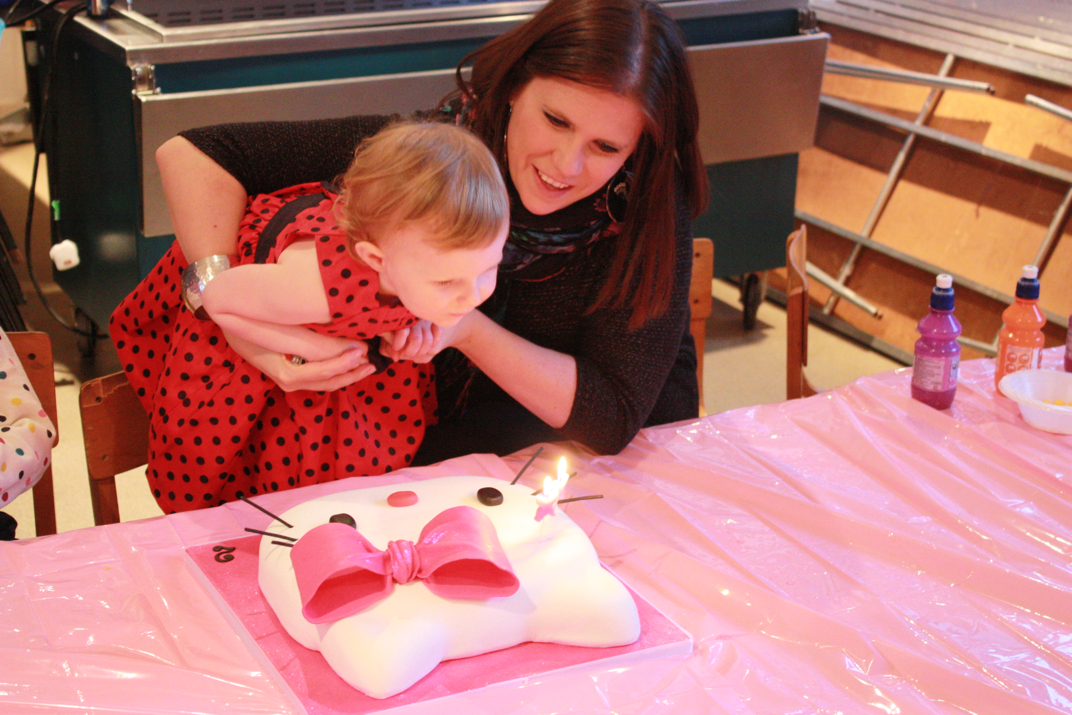 Blow! Here she is relaxing whilst enjoying her cake on the soft play equipment! Now to start planning next year... Life size Simba maybe?... 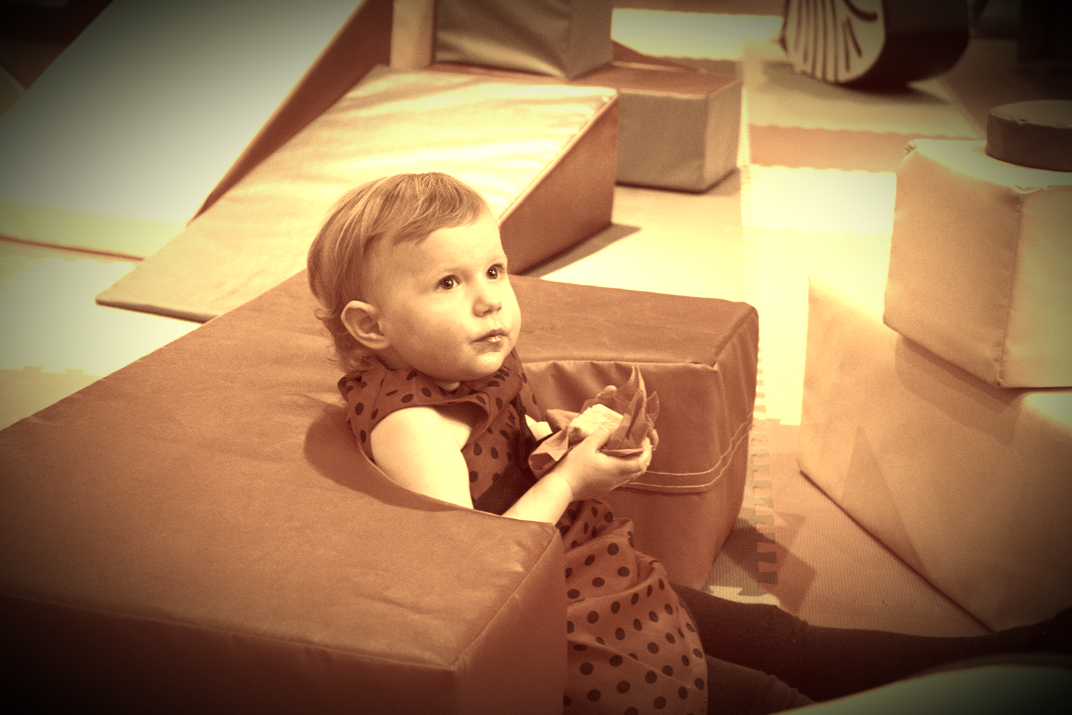 Yum yum! Before i start this post i shall hold my hands up and admit i haven't shared Eloise's second birthday cake with you all yet. Terrible of me as it was 2 months ago now but i promise to this week. In the meantime it was Eloise's BFF Ben's second burthday last weekend. You may remember his mum Laura (my BFF) and I made Ben's first birthday cake together. This year Laura flew solo and made Ben a cake representing his favourite storybook character The Gruffalo; 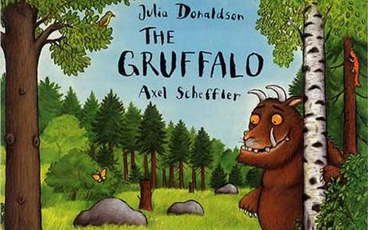 For those of you not familiar with The Gruffalo it is a very popular childrens book. The main character is a little mouse who during a walk through a forest encounters dangerous animals who all intend to eat him. The mouse invents a character called The Gruffalo to scare off the predators. Imagine the mouse's surprise when he stumbles on a real Gruffalo! To avoid being eaten by the Gruffalo the mouse claims to be the scariest creature in the forest. To prove it he walks back through the jungle with the Gruffalo and all the animals he met along the way run away and the Gruffalo believes the mouse really is the most feared creature in the forest and doesn't eat them. So it is a childrens book about cunning and deceit (and how not to get eaten). Laura wanted to make a cake which represented the Gruffalo himself but the design was tricky. She didn't want to fall into the trap of ending up with a sloppy brown mess (there are a few pretty shocking Gruffalo cakes found on Google search, hopefully they are homemade not professional disasters but if they are i'll leave it to Cake Wrecks blog to publically shame them) The best thing to do was to simplify the design down to a few key features which would instantly be recognisable as the Gruffalo without being too fussy or complicated. Laura decided to make a brown cake and add on the big orange eyes, hairy eyebrows, big ears and horns. She then used food colouring to detail around the eye area. Finally she covered the board in green fondant to represent the forest. 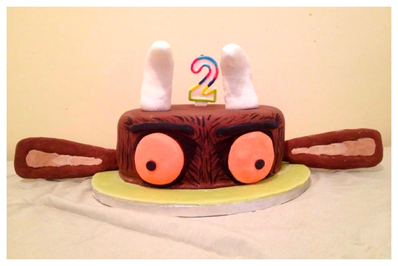 I was very impressed with Laura's fondant finish covering the cake. It was only her second cake and she didn't even need to ribbon the bottom of the cake as it was so neat. The modelling also was very effective and Ben instantly recognised his cake as a Gruffalo! Despite a false start with a silicone baking tray disaster (mental note not to try turning out until cake completely cool) the chocolate cake inside was deliciously moist and tasty. Happy Birthday Ben and well done Laura! 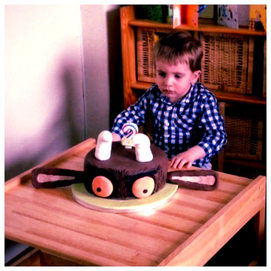 This is a first for the blog. Very exciting. Chris made me a dessert! Chocolate orange cheesecake! My personal favourite chocolate flavour. 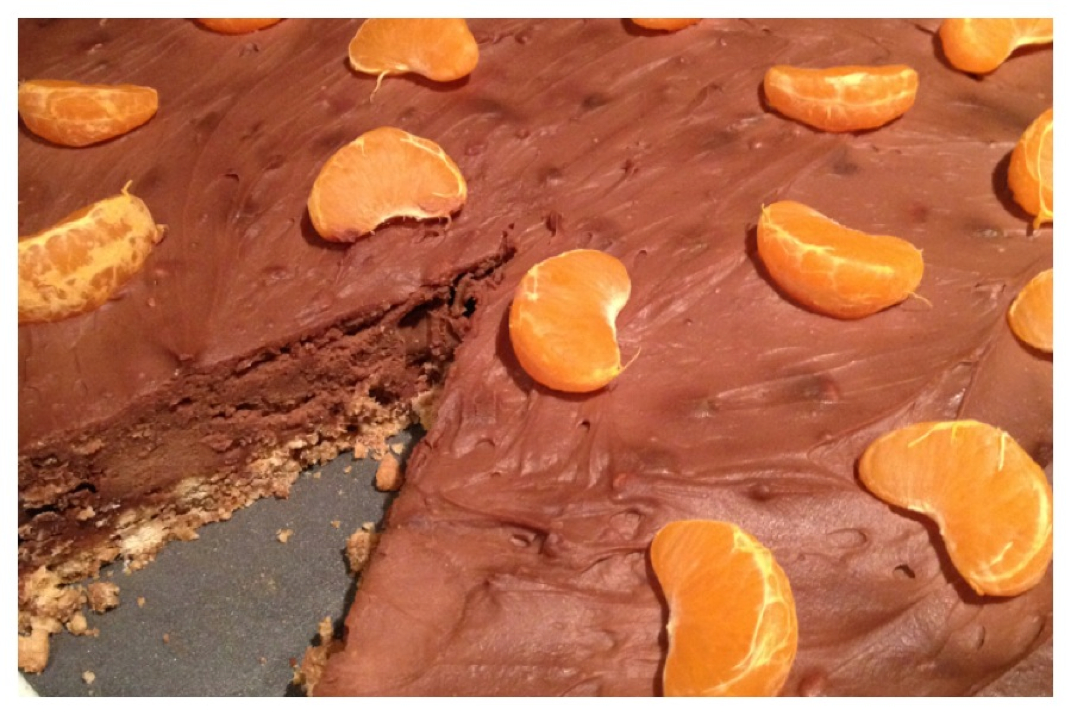 The base was crushed chocolate digestive biscuits mixed with melted butter. For the topping Chris mixed together Terry's milk chocolate orange with Lindt dark chocolate orange. He layered it in a flan dish and decorated with orange segments. It set in the fridge and tasted very rich - like eating a chocolate bar. Delicious but decadent! Thanks baby xxx 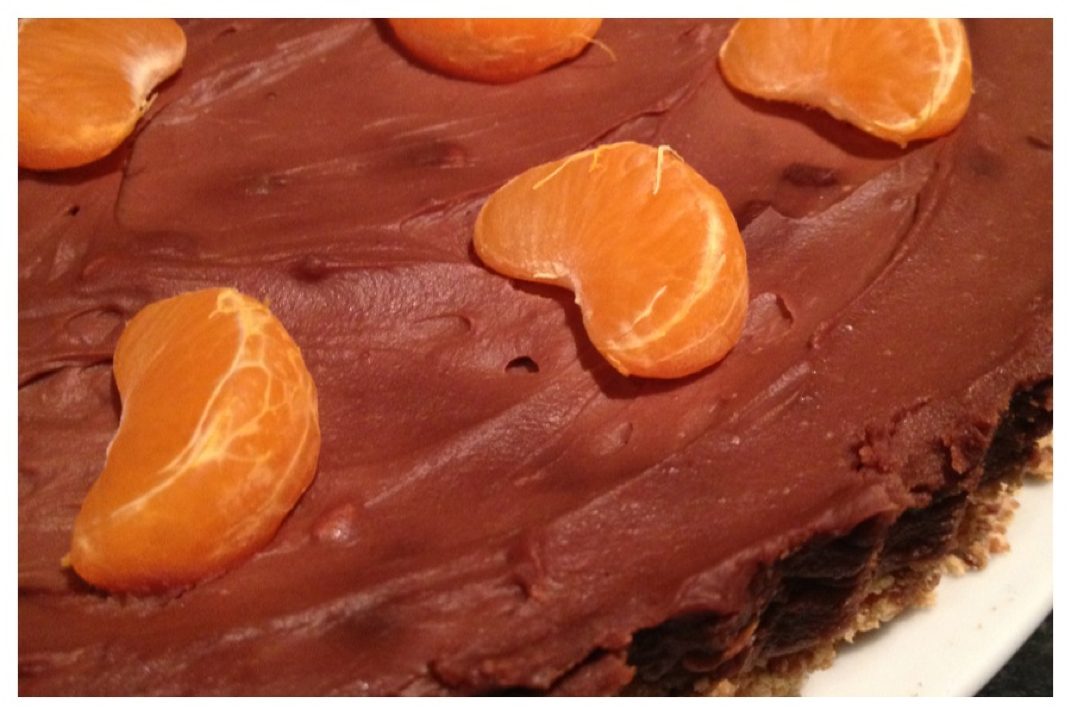 This weekend we had Eloise's big cousins James and Emily to stay. This called for some group baking making clever use of the copious amounts of Easter egg chocolate Eloise received. 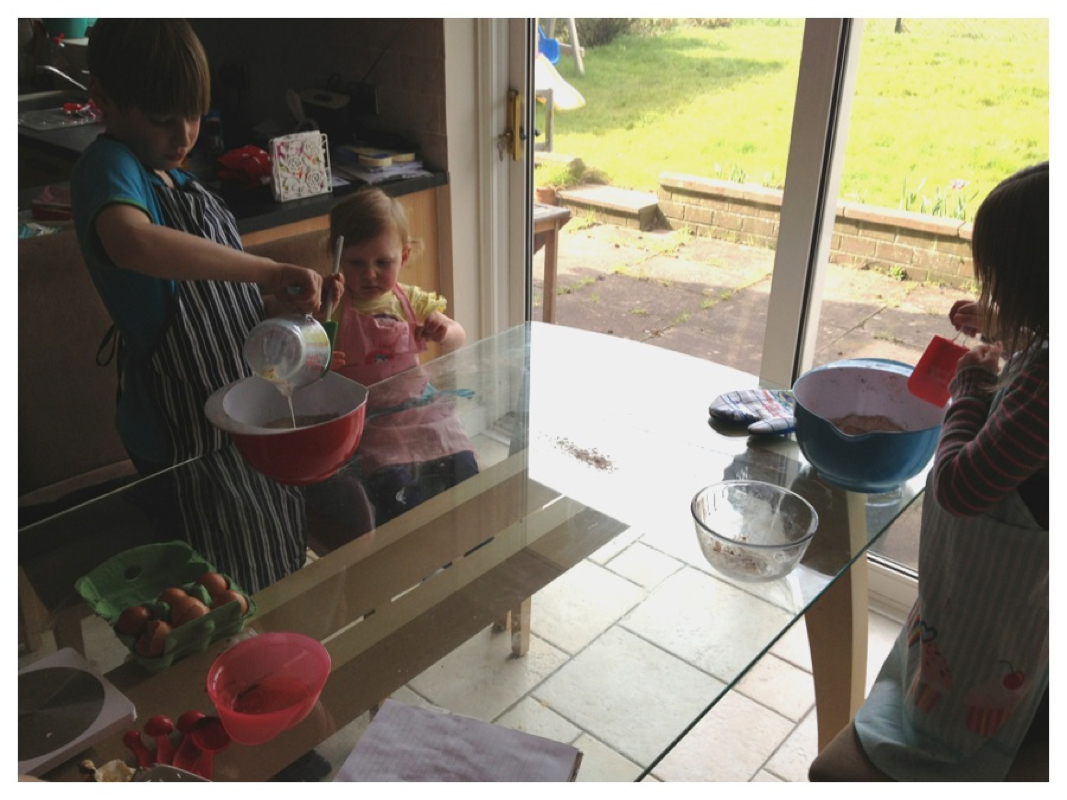 James supervised Eloise's bowl whilst Emily rode solo. The recipe was a chocolate oil cake (oil used instead of butter) We added cocoa powder and melted milk and white chocolate in the mix to make a very rich flavour. The mixing went well but transference into the cupcake cases proved a little messy - especially with Eloise involved! 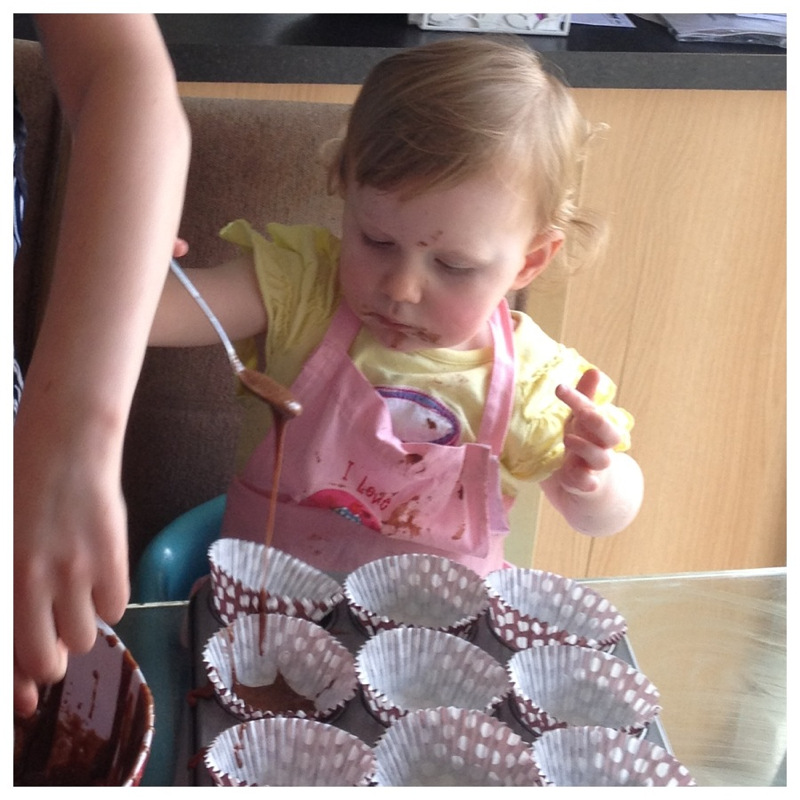 Amazingly the cake rose really well and we topped them with a chocolate ganache and butterscotch pieces. 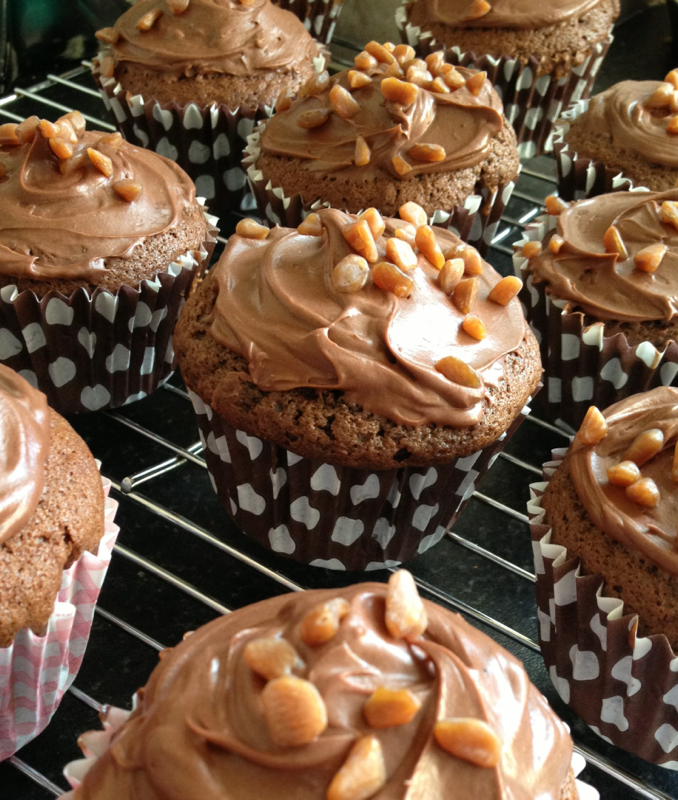 The cakes were demolished in record time and Eloise was so enthusiastic she required a bath afterwards! 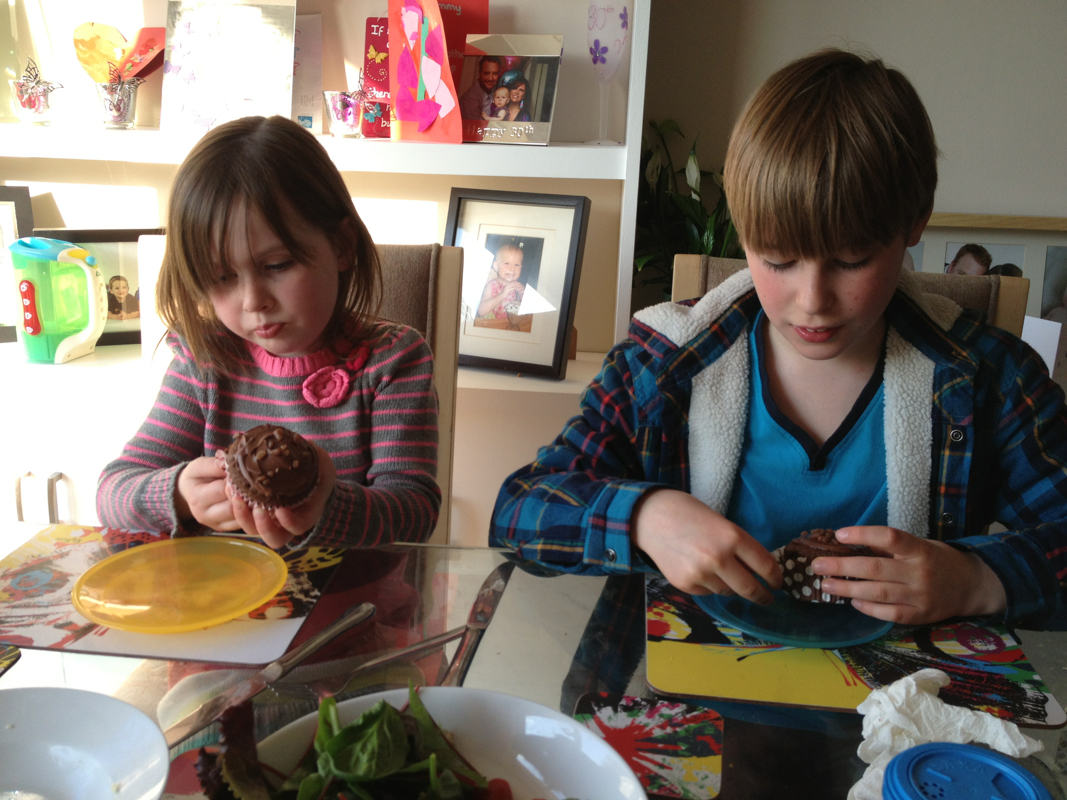 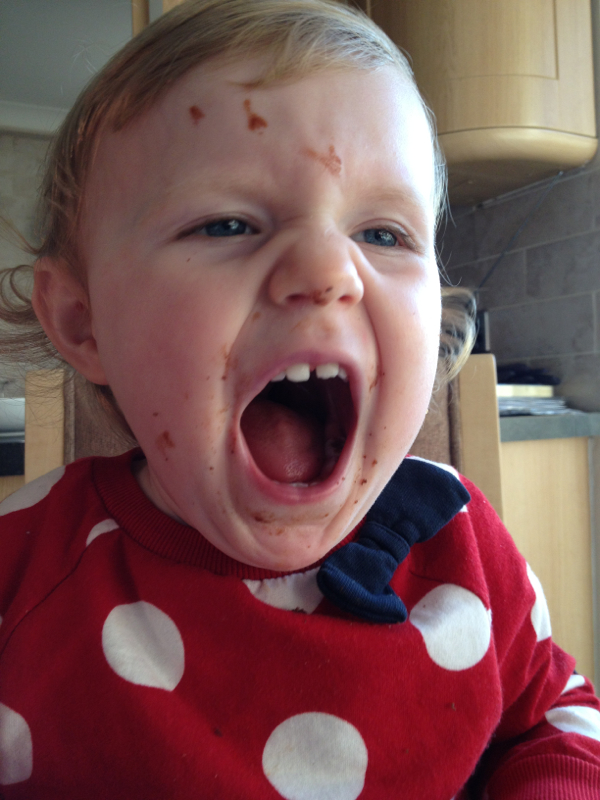 The long Easter weekend is finally here! I have been baking lots lately and have loads to share with you over the next few days. I have also been experimenting with my new DSLR camera so hopefully you'll like the new photography (but remember I'm still learning!) In the meantime I thought I'd share some quick iPhone snaps of this morning's family Easter activity - cornflake cake making! We melted Casbury Dairy Milk chocolate and added a few teaspoons of honey (you could use golden syrup) to make the chocolate a little thinner and to provide a glue element. Once cool we poured over the cornflakes and mixed until thoroughly coated. Eloise had her own mixture, bowl and spoon but most of her cornflakes ended up in her mouth rather than the cupcake cases!  Once we had finished mixing we popped them into bright butterfly cases and added a couple of mini eggs to match the Easter theme. A few hours in the fridge should set the mixture... and off to an Easter hunt we go! 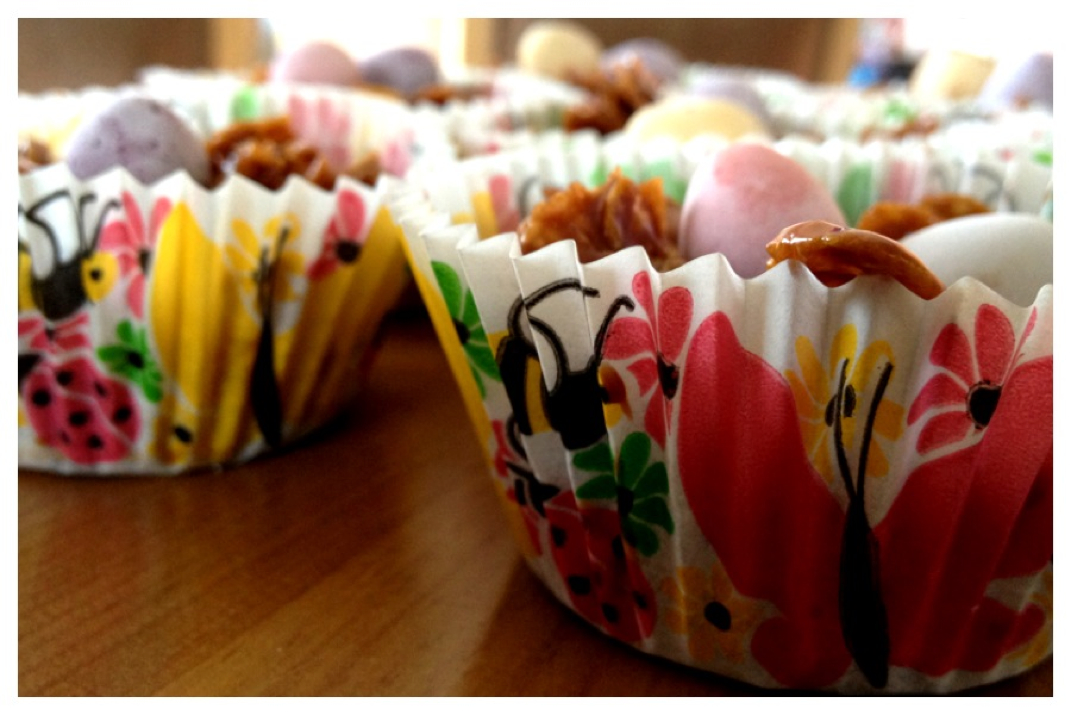 My closest friends will tell you there are a few things which really bug me. There now only being 4 members of the band 5ive, Sky Sports News and Daniel Radcliffe are up there, but when it comes to a rant there is one subject which beats them all - chocolate bombes. 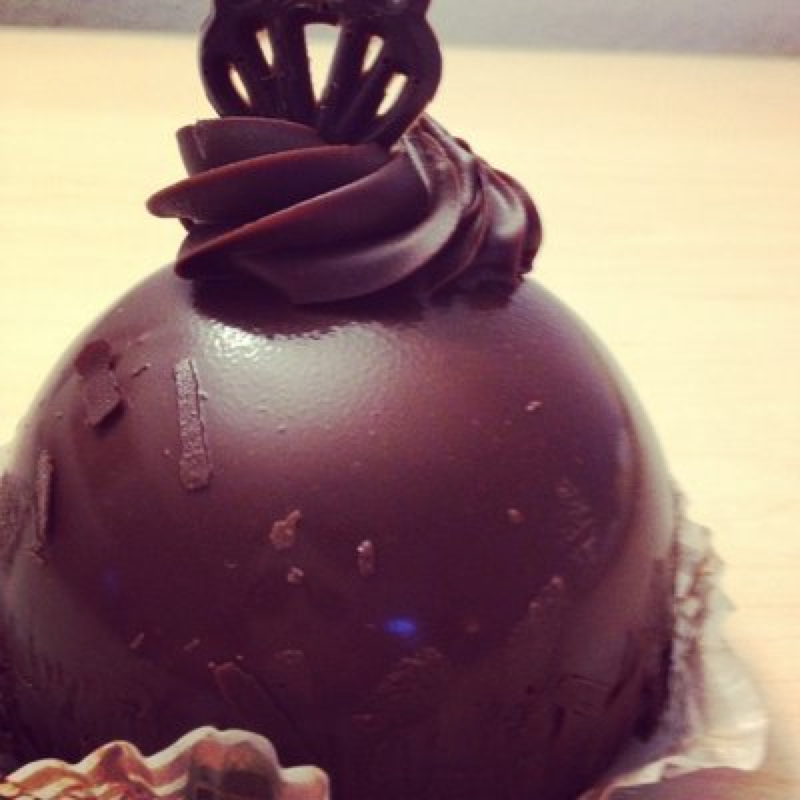 I am very specific about what a chocolate bombe should be and variations on the classic bombe don't sit too kindly with me. A chocolate bombe should have a core of rich chocolate sauce wrapped in a layer of cold vanilla ice cream. The whole thing should be encased in a thin, glossy chocolate shell which should crack nicely when tapped with your spoon. This is the pudding of my childhood I always ordered when we went to a restaurant called Pizza Piazza in Farnham, may it RIP. Nothing winds me up more than a dessert masquerading as a bombe or restaurants deciding to mess with the classic vanilla and chocolate combination. I once had the displeasure of being served a mint bombe (yes, you read right, a mint bombe) which to the naked eye looked like a perfectly acceptable bombe until the first bite revealed mint ice cream. This plagued me everytime I visited this establishment as they clearly had not marked up which bombes were which in their freezer. I also regularly question the need for triple chocolate bombs (chocolate core, chocolate ice cream and chocolate shell) Where is the contrasting taste? Why not just order chocolate ice cream with a flake and be done with it. I hesitantly ordered the chocolate bomb in my local Italian restaurant a few weeks ago. It looked promising when it arrived and I could cope with the dusting of cocoa and crushed hazelnuts on top as they were not interfering with the structure of the bomb itself but I struggled with the interior. Instead if ice cream it was a semifreddo which is half ice cream, half whipped cream so it is only semi frozen. It was passable as a bombe. Just.  So, imagine my horror when last night I was told about a restaurant serving a chocolate bombe which isn't a sphere, involves no ice cream and includes sponge... My friend Alex sampled this dessert and claimed it was delicious. It clearly started life as a dome shape which they cut into and served as a slice. This in my eyes makes it a cake not a bombe but we'll come back to that later. The base was a vanilla sponge which was piled high with a cold chocolate cream which may be a semifreddo (unconfirmed) the top appears to be dusted with cocoa powder. 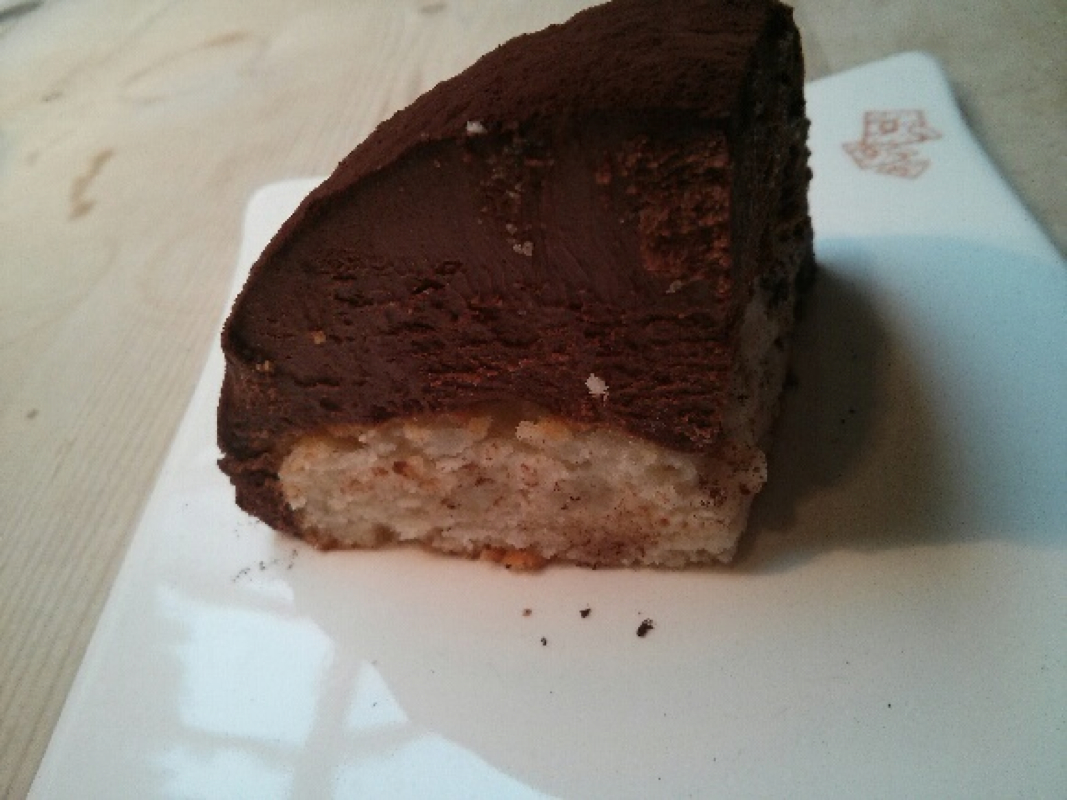 Whilst i recognise they have stuck to the chocolate vanilla combination rule I have found several major flaws in this bombe. Firstly, a bombw should be presented as a whole bomb not in a slice. This completely defeats the point. Secondly, sponge in a bombe... one word. No. Thirdly, dusted cocoa powder is a very poor substitute to a poured, crackable chocolate shell.
I have no doubt this dessert tasted delicious, however, I would accuse the establishment of false advertising over the bombe description. So there you have it, possibly my most passionate blog post. Think twice before you order a bombe.  After the disasterous house warming cake of last week we did finally visit Jon and Shelley's new home (well at least Chris and Eloise did as I was making a wedding cake - blog post to follow!) This time I went for some luxury chocolate muffins! The chocolate sponge had a secret chocolate ganache core which I injected after baking using a medicine syringe and were topped with a silky vanilla buttercream icing.. Melted ganache was drizzled over the top for decoration. Jon has reported that all the muffins did make it to the new abode. I was a little nervous Chris and Eloise may have got hungry on route! 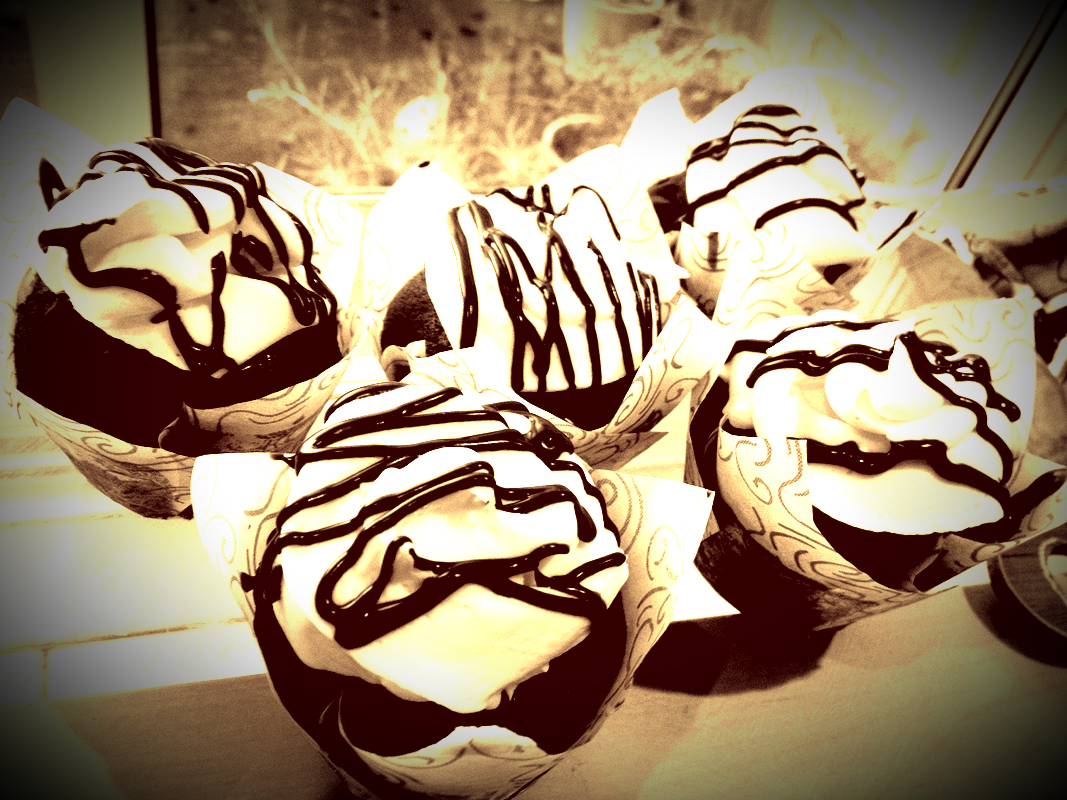 |
About AmyMum. Wife. Artist. Baker. Archives
November 2013
Categories
All
 |
 RSS Feed
